Startup Toolkit
Interactive How-To Guides For Startups
Crafted for you by Casual Team
Guide

Create a Landing Page without a single line of code

by
Mark Savchuk
Marketing Wizzard @ Casual.pm
Get a pre-made project plan based on this how-to guide on startuptoolkit.info
This how-to guide will teach you how to create a Landing Page for your product in less than a day without writing a single line of code! Although this approach is not completely free (but less than $100), it will certainly save you a huge amount of time. 

As usual, a detailed step by step project plan comes with each story. 

Intro

Landing page is a webpage where you "land" your potential client. It’s the place to highlight the exact value your product or service will bring to the client. This how-to guide will take you through the process of landing page development in just half a day with no coding at all. It will cost you less than $99. 
 
These are the deliverables—goodies that you will get for these 99 bucks: 
  • Very decent website with a mobile version included. 
  • A domain name 
  • Website hosting 
  • All above without hiring a coder or a designer. You can DIY everything without having a background in tech. 
You will be able to add the following services to your website: 
  1. Google Webmaster Tools (for SEO) 
  2. Google Analytics (to analyze traffic on your site) 
  3. Mailchimp (to handle email marketing) 
If you want to create websites similar to our examples, we advise you to use site builders like Instapage or Strikingly. For $99 you can host your landing page for 2–3 months + one month of a free trial. In the end, you have a ready-to-use website at your disposal for 3 months at least. Imagine, it can be done just in one day! 

Who needs a landing page and why?

Landing pages will be of primary interest to startups which are "testing the waters". In other words, we are talking about the startups that are only developing their product or have some detailed concept in mind to validate. Also, landing pages might be useful to companies that already have a product, but would like to create a separate landing page to promote their product to specific audiences. 

Potential benefits of having a landing page: 
  • You will test the market and validate your idea. 

  • Collect email addresses of your early supporters. 

  • Gather up a community and start collecting users’ feedback. 
  • Create various landing pages for marketing purposes. For example, you can create different landing pages to promote different products or features, or to customize your communication with users in different locations. Any targeted landing page will have a much better conversion rate than any general page on your website. 

Before you begin crafting out your landing page though, we advise you to take a look at this video:

Do your homework

Before you start creating your website, you have to settle down on the following points: 
  • Have an exact goal for this page. For example: "It will be a test-website about a product On the stage of development . We want to collect emails of early adopters and potential buyers.” 
  • Write down a structure of your website. 
  • Create simple mock-ups of your website. It's important to visualize the main sections and features of the website (e.g.  CTA's, texts, links etc).
  • Choose a domain name for your website. 
Having these steps done in advance will greatly reduce the time you'll need to develop a landing page.

Get your domain name

There are plenty of providers out there. We suggest using one of these: Namecheap or Hostgator.

Important note: Purchase just a domain name without a hosting plan (site builders like Strikingly and Instapage, already have hosting included in their price). 

Find a few great landing page examples

It will be easier to develop an epic landing page when you have some good examples in front of you. Use them to t̶o̶ ̶s̶t̶e̶a̶l̶ ideas get inspired. Scoop the next sites for a start: They publish lot's of landing pages on daily basis.

Pick a service to build a landing page

In this how-to guide we offer to use Instapage or Strinkingly, since they are very straightforward, user-friendly and inexpensive.
 
You get a responsive design straight away, accompanied by an auto-generated mobile website version. 

Below, we've created two parallel tracks for each site-builder (Strikingly and Instapage). Choose one that suits you best.

Option 1. Strikingly: Sign up and choose a plan

In this example, we use a simple landing page that we made to promote our product to a particular group of professionals. It took us less than a workday to develop it.

Check the result here.

First, register an account at Strikingly. A $20/mo account is sufficient for building a decent landing page. Purchasing an annual subscription will get you a discount. 
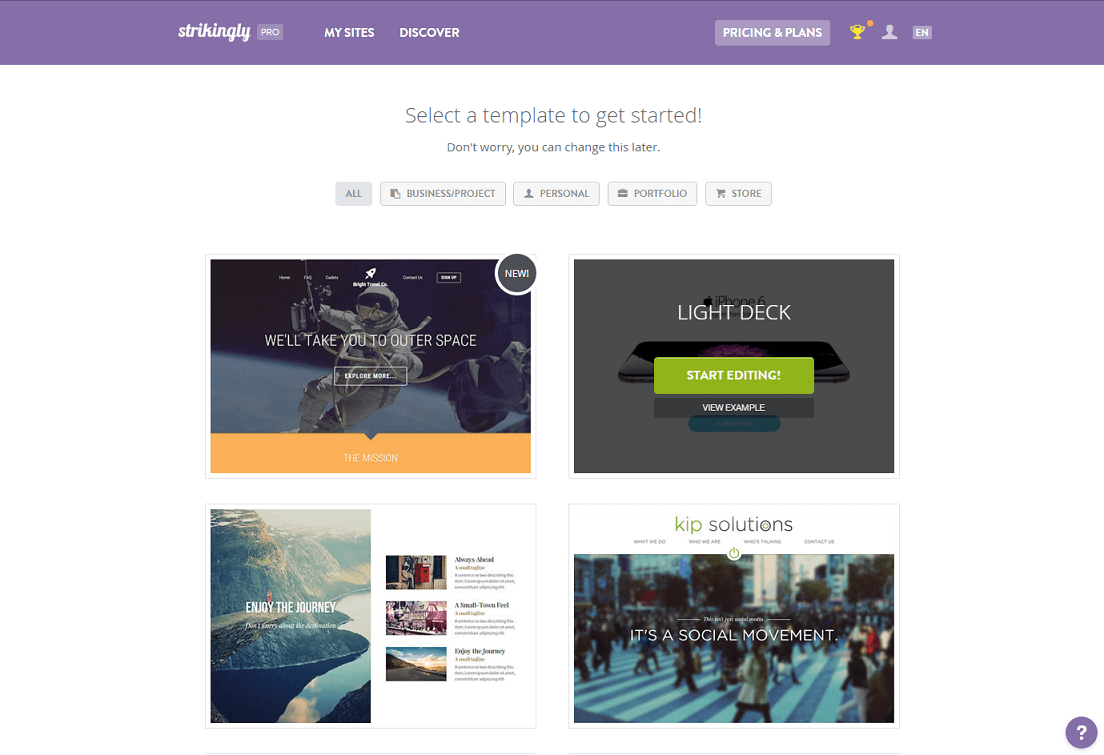
Select a template

Strikingly is all about templates. Choose one and then tweak it to suit your needs using the built-in editor. The best part is that there are PLENTY of pre-made website templates of excellent quality.
 
A SHOWCASE template is our choice in this example.

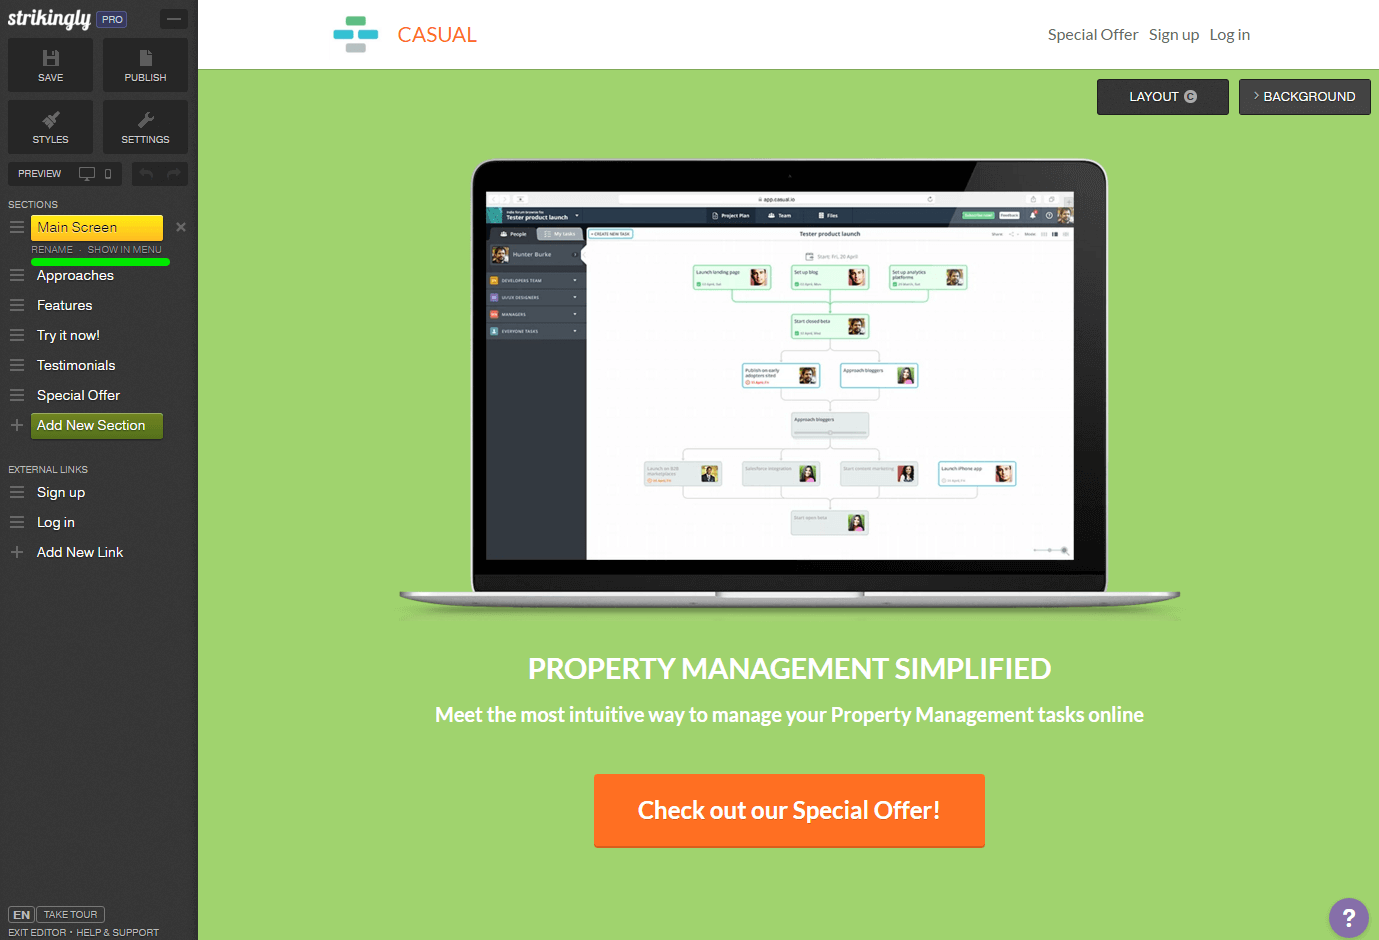
Build your page with a visual editor

Strikingly is really simple: you start off with a template that is easy to change in a visual editor.
 
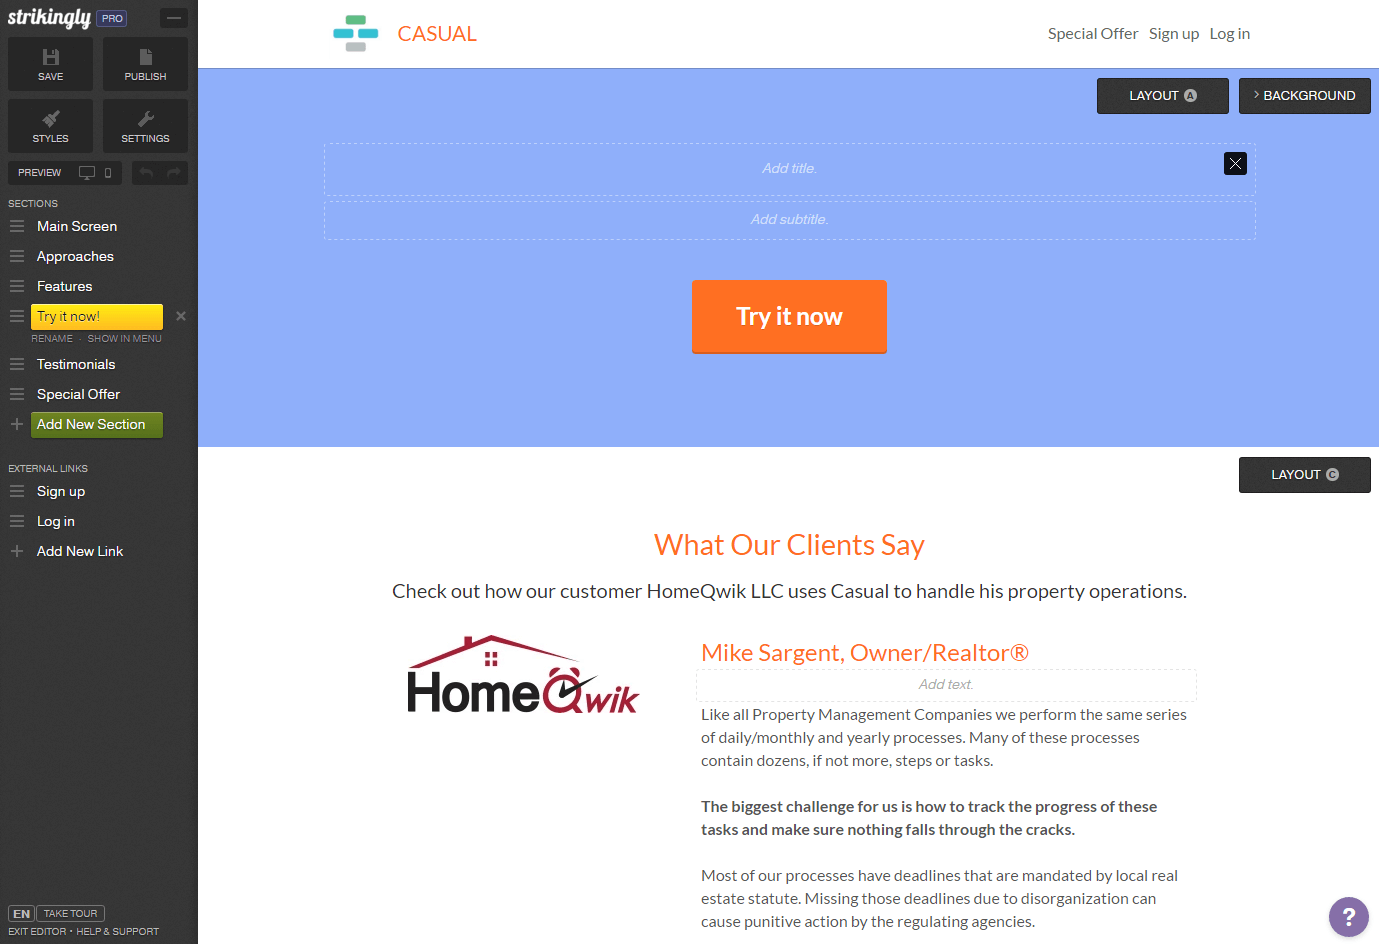
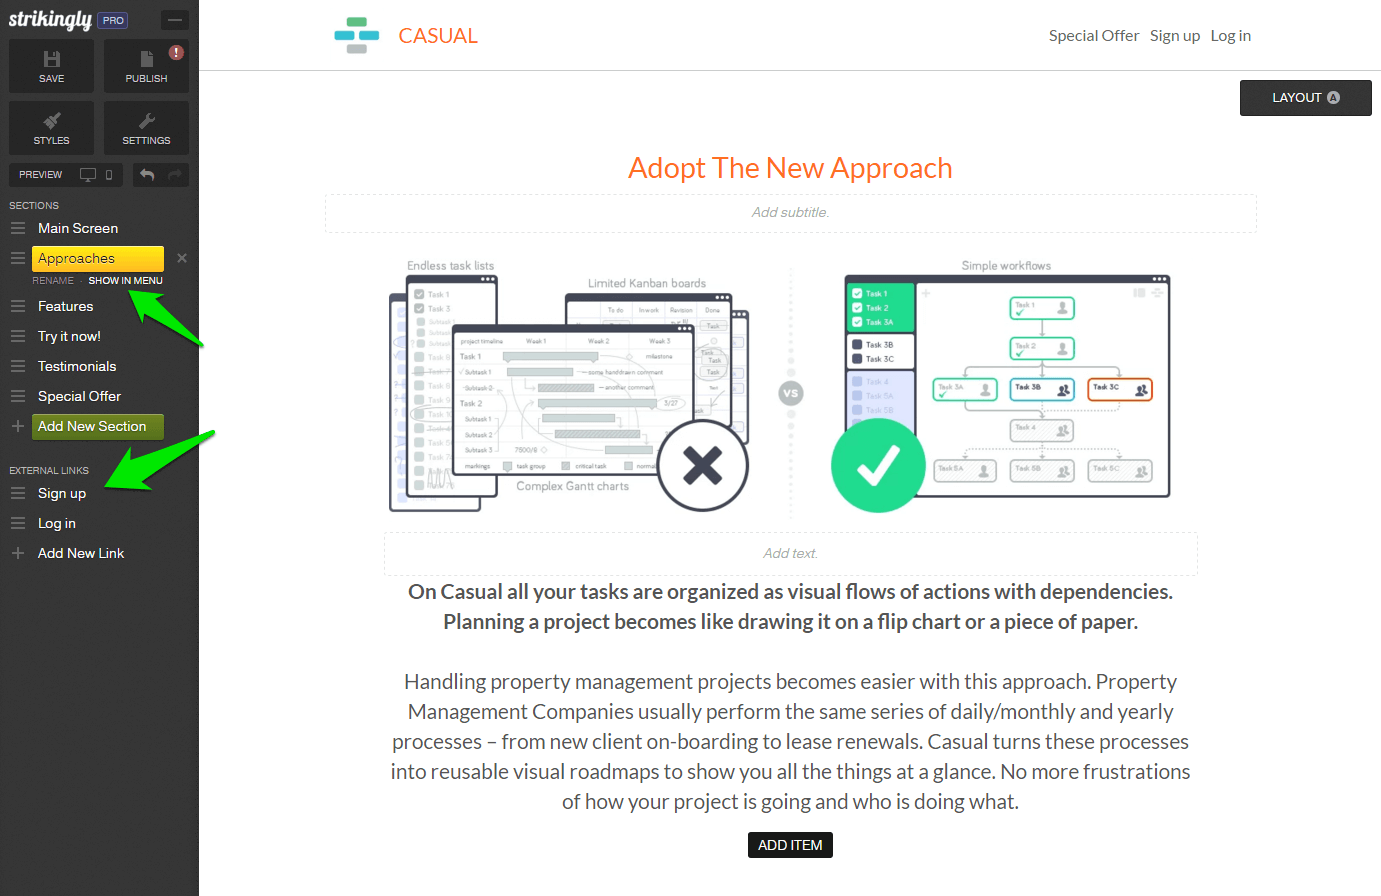
In our case, we've created a one-page landing with several "screens". In Strikingly they are called sections.
 
To create a section, press "Add New Sections" and select a template you'd like to edit.
 
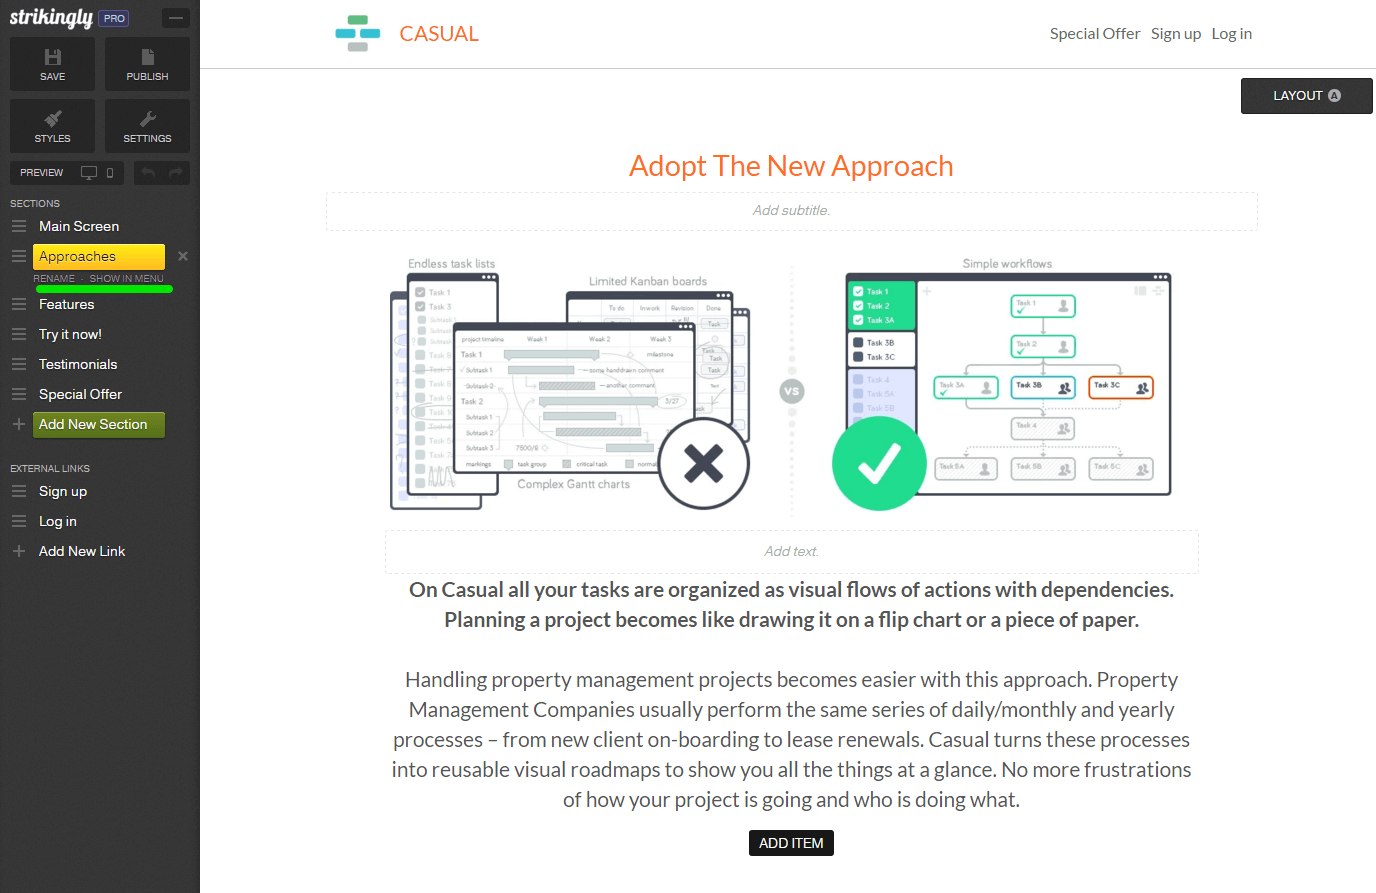
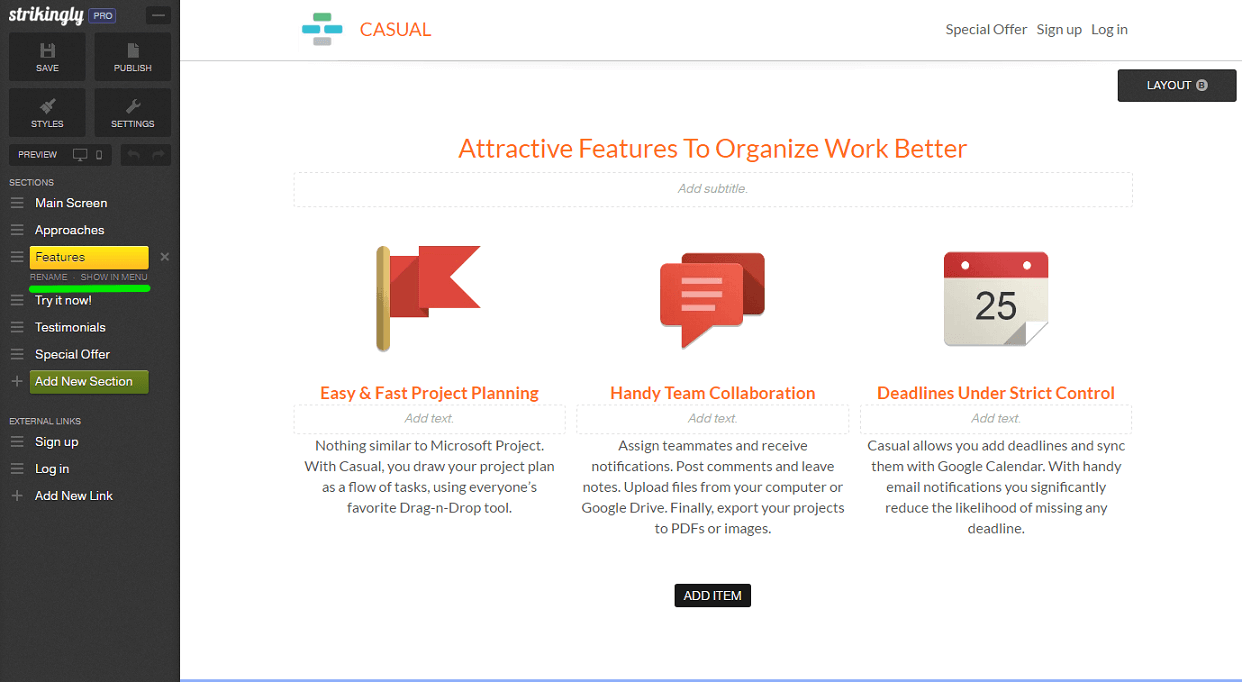
These are sections that we've created:

First screen is for our screenshot, tagline, call to action.
On the second screen, we tell how Casual is different from other PM services.
The third screen contains features description and one more call to action.
The fourth screen is for a special offer, a call to action (yes, again) and users testimonials.
Tip: ALWAYS check how your website looks on mobile devices. Remember that you can always customize your style, there are lots of design features to choose on Strikingly.

Should you have any questions while dealing with this service, use a "tour" feature and check out their help center. It should have all your questions answered. 

Tune your header and footer

Use header to include links to any section of your website.  Also, you can add some external links, like “Sign Up” or “Sign In”.

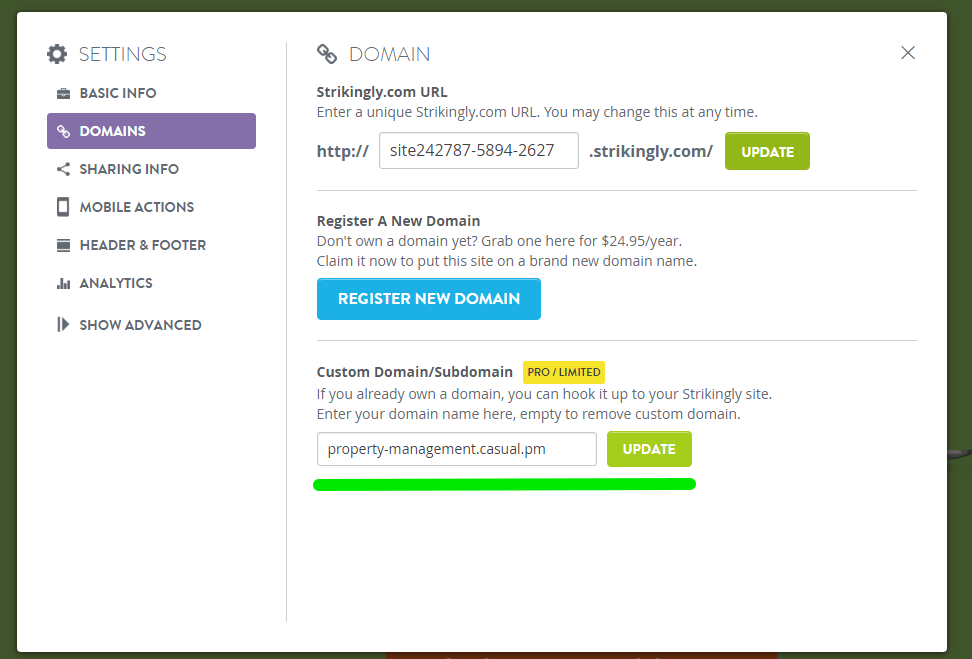
Add a custom domain to your Strikingly page

To connect a custom domain name to your Strikingly page navigate to "Domains" page.  Then follow this procedure. Hosting is already included in the price of Strikingly PRO account.

Tune a Title tag and a Meta Description

In a nutshell, Title tags and Meta descriptions are HTML elements that provide information about a web page for search engines and website visitors. They are the primary entities for on-site SEO. Here is a short guide about them. 

To add them to your landing page, open Settings screen, then "Basic Info" page.

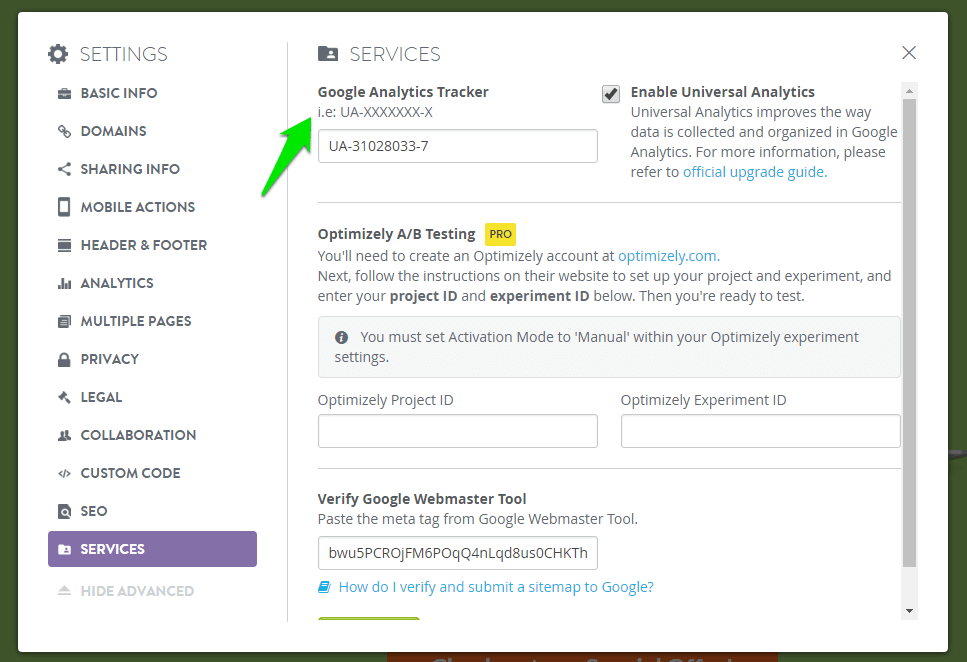
Add Google Analytics and Webmaster tools

Press "Show Advanced" for more settings to appear, then navigate to Services page. Here you can add Google Analytics tracker code, and a meta-tag that will help you verifying your website with Google webmaster tools. Here are simple instructions:

How to get Google Analytics tracker code
How to pass Google Webmaster Tool verification

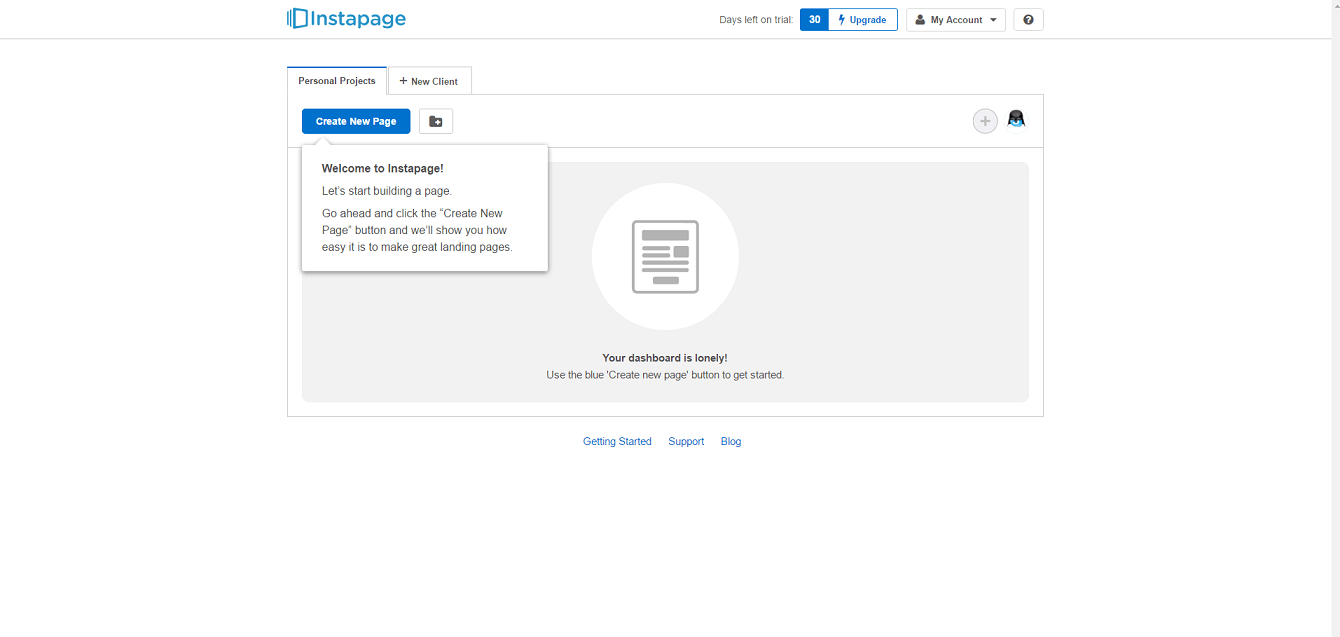
Option 2. Instapage: Sign up and choose a plan

To get started, create an account at Instapage. Their prices start from $29/month. The $55/month package has better integration features and custom HTML code editor, if you need them. As usual, you'll get a discount if you sign up for a whole year at once.

Once you've registered, a tutorial will start to aid you with creating your first page. Just go through it so that you can understand the main tools of this platform.
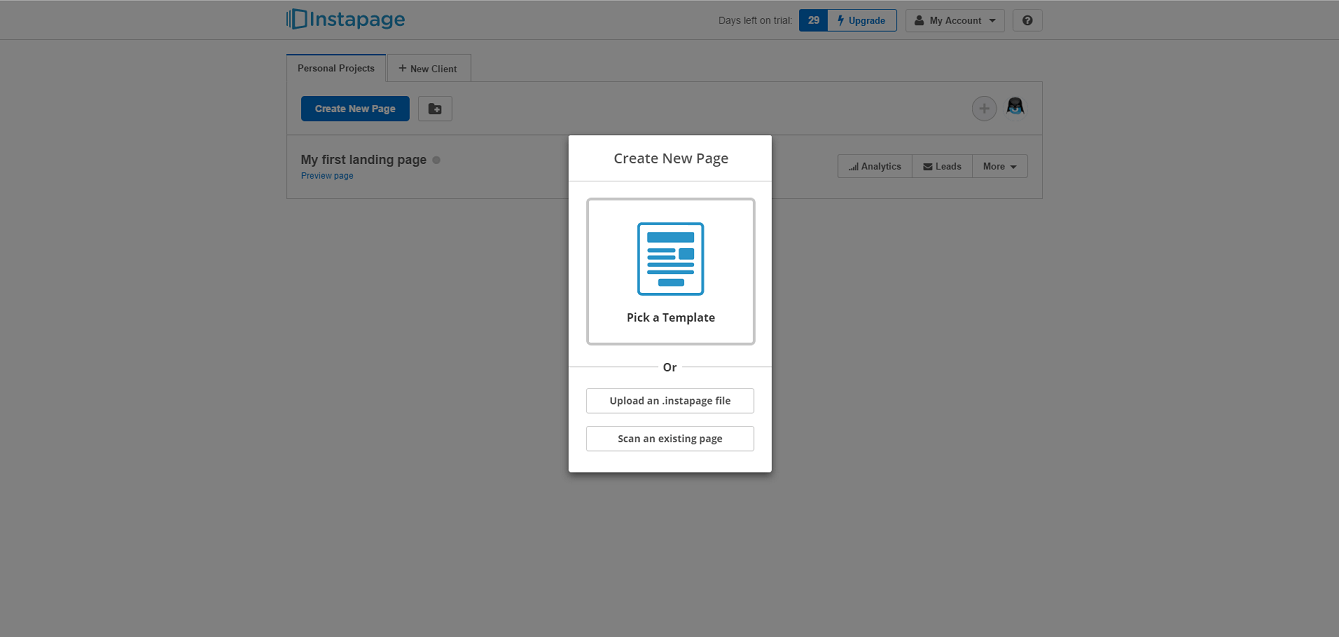
Once done, press "Home" in the top left corner and select "Create new page"
You don't need that first page. You created it only for tutorial purposes and may delete it at any time.

Select a template

In our sample page we use the "Lead gen (two step)" template, as it has tools to showcase our product and contains a "User name + Password" sign up form.

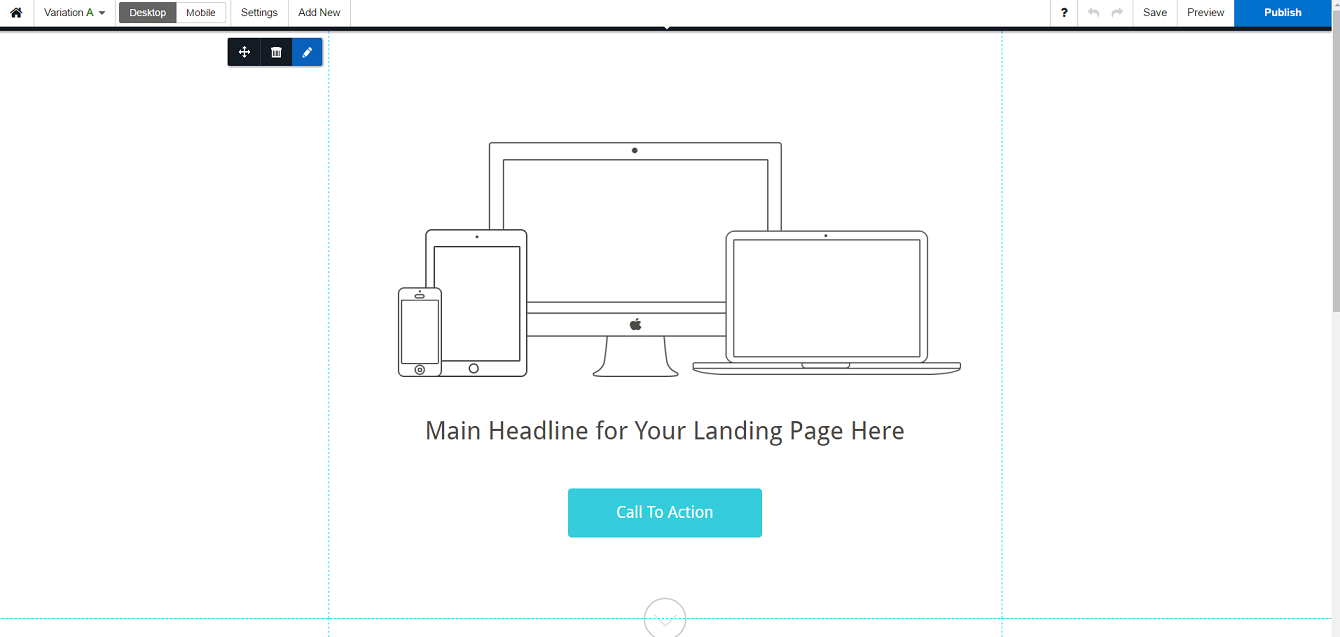
Build your landing page

Click here to see what we've built within a few hours after logging into Instapage. Please, note that the logo and some other assets were created before the landing page. 

Here are some tips on how to build a good landing page: 
  1. Provide a clear description of your product on the very first page of your site. Potential customers should be able to understand what is your offer as quickly as possible otherwise, they will leave.
  2. Make your Call to Action buttons bright and visible! Customer who was inspired by your promo video should get the idea of what to do next. You can forget about it, if a visitor can't find the "Sign Up" button. 
  3. Make sure to place several Call to Action buttons in multiple places. Variations like "Try it now", "Sign up for Free" may increase your chances. 
For further reading, here are great articles about building good landing pages: 

Add Google Analytics

Although Instapage already has simple built-in analytic capabilities, it is always worth using Google Analytics as it is the best free service to monitor your traffic.
 
If you don't have a Google Analytics account, sign up now, it's free. Once you got your account, follow these instructions to integrate your instapage with Google Analytics. It takes no more than 2 minutes. 

Add Mailchimp

Step 1. Go to MailChimp and set up your account. 
 
Step 2: Open your Instapage Dashboard and navigate to "My Account", then "Integration". 
 
You will find MailChimp among extensions that can be integrated into your page. Press "Connect" to enable the extension. 
That's it! 

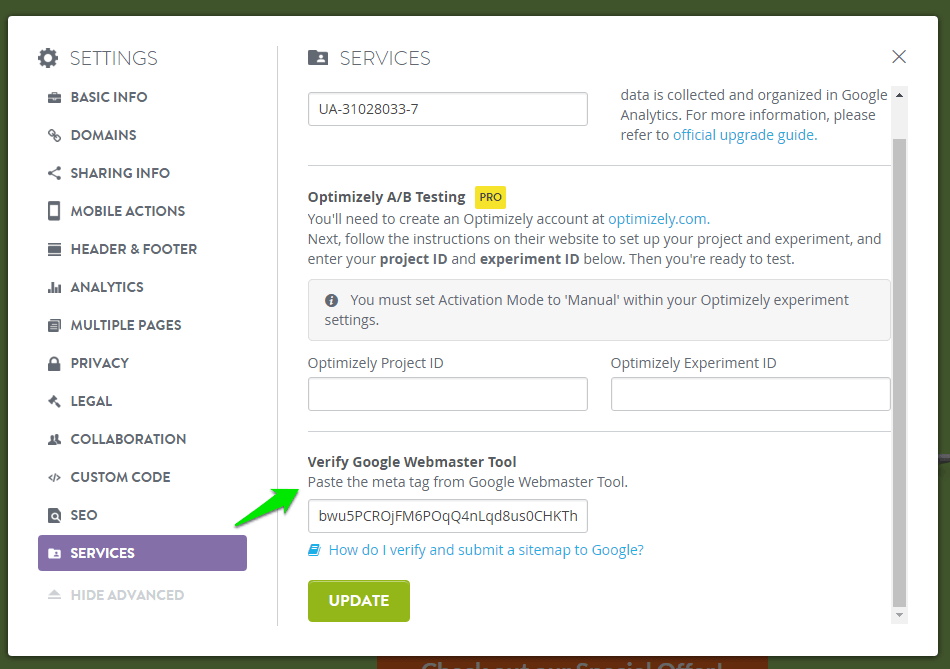
Add your landing page to the Google Webmaster Tools

Webmaster Tools from Google are mainly used by search engine optimization (SEO) specialists, but you can find some valuable data as well. This free toolset gives you insights on which pages have been indexed by the search engine, the links that are pointing to it, popular keywords, etc.
 
Here is a short guide on how to integrate Instapage with Google Webmaster Tools (GWT):

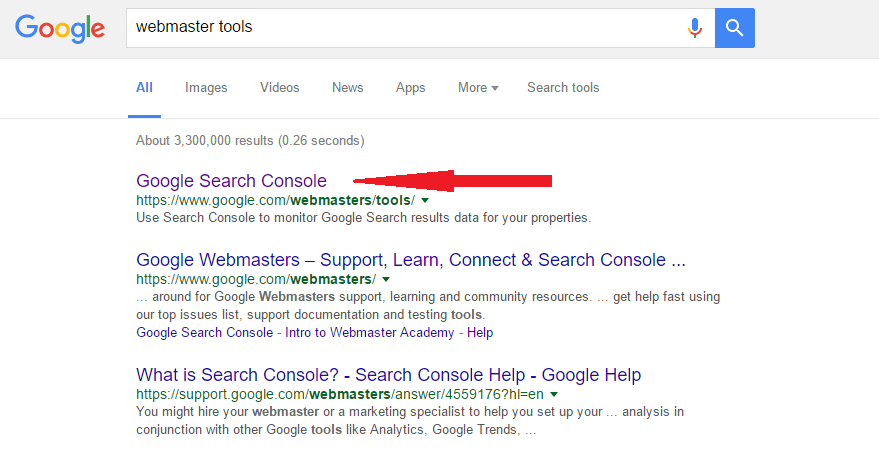
Step 1: Google “webmaster tools” and set up your account there:
Step 2: Once on Google Search Console:

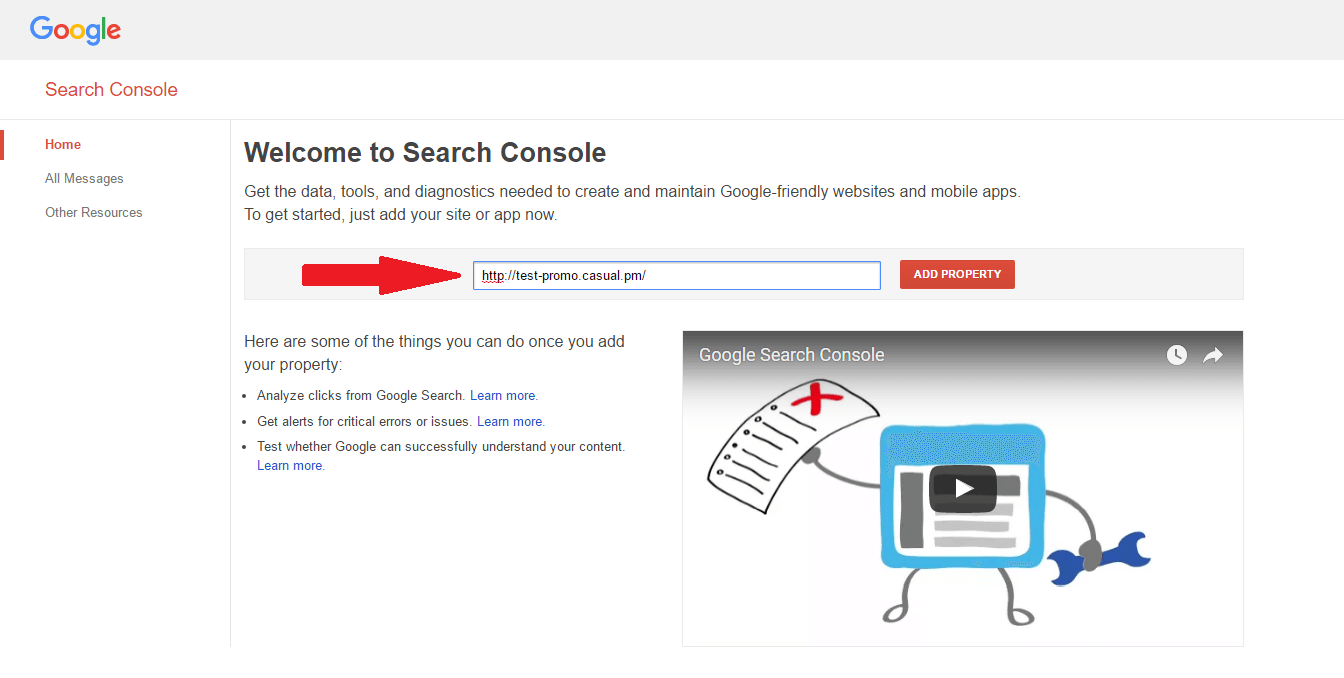
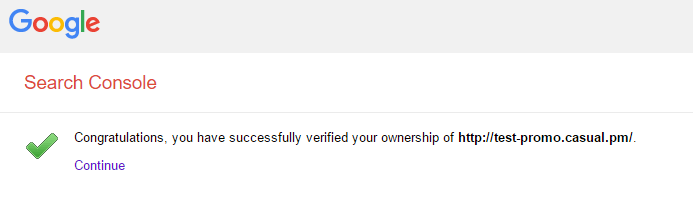
Copy the address of your website into the Search Console. Google treats websites like Real Estate, calling them "properties".
Step 3: Choose a verification method

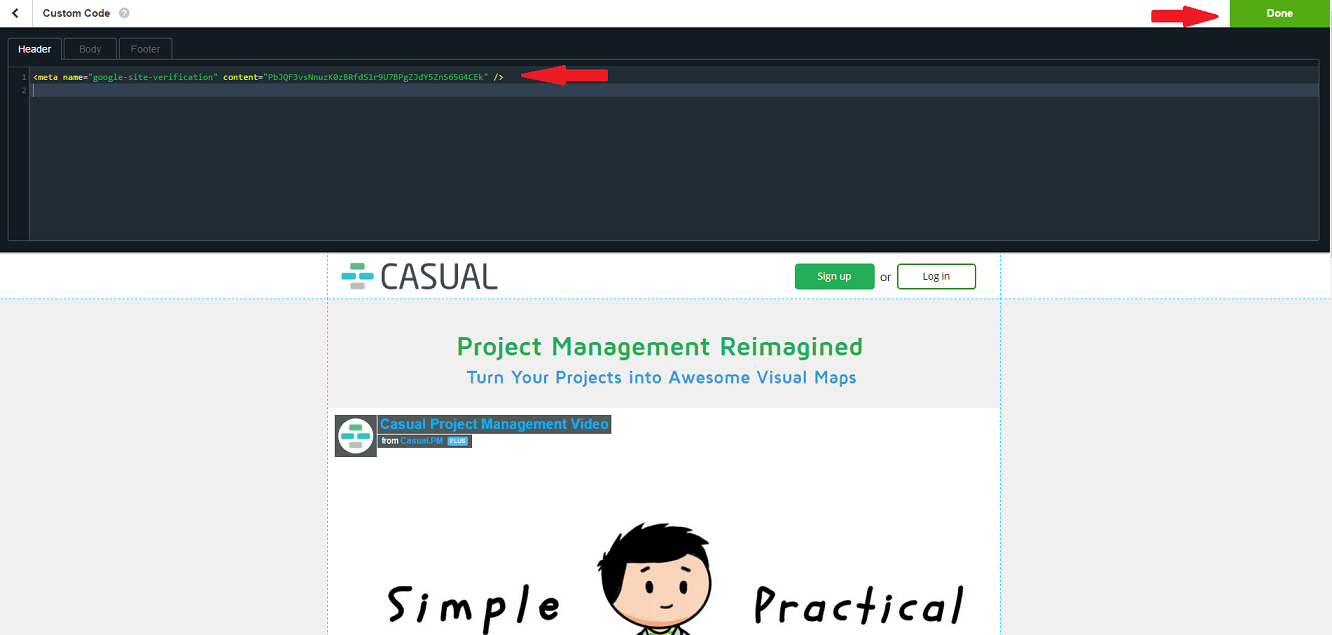
Now you need to prove to Google that you are the owner of your website. Use 'html tag' method for Instapage. Find it under the "Alternative methods" tab.
A code will be displayed to you. Copy it into the clipboard.

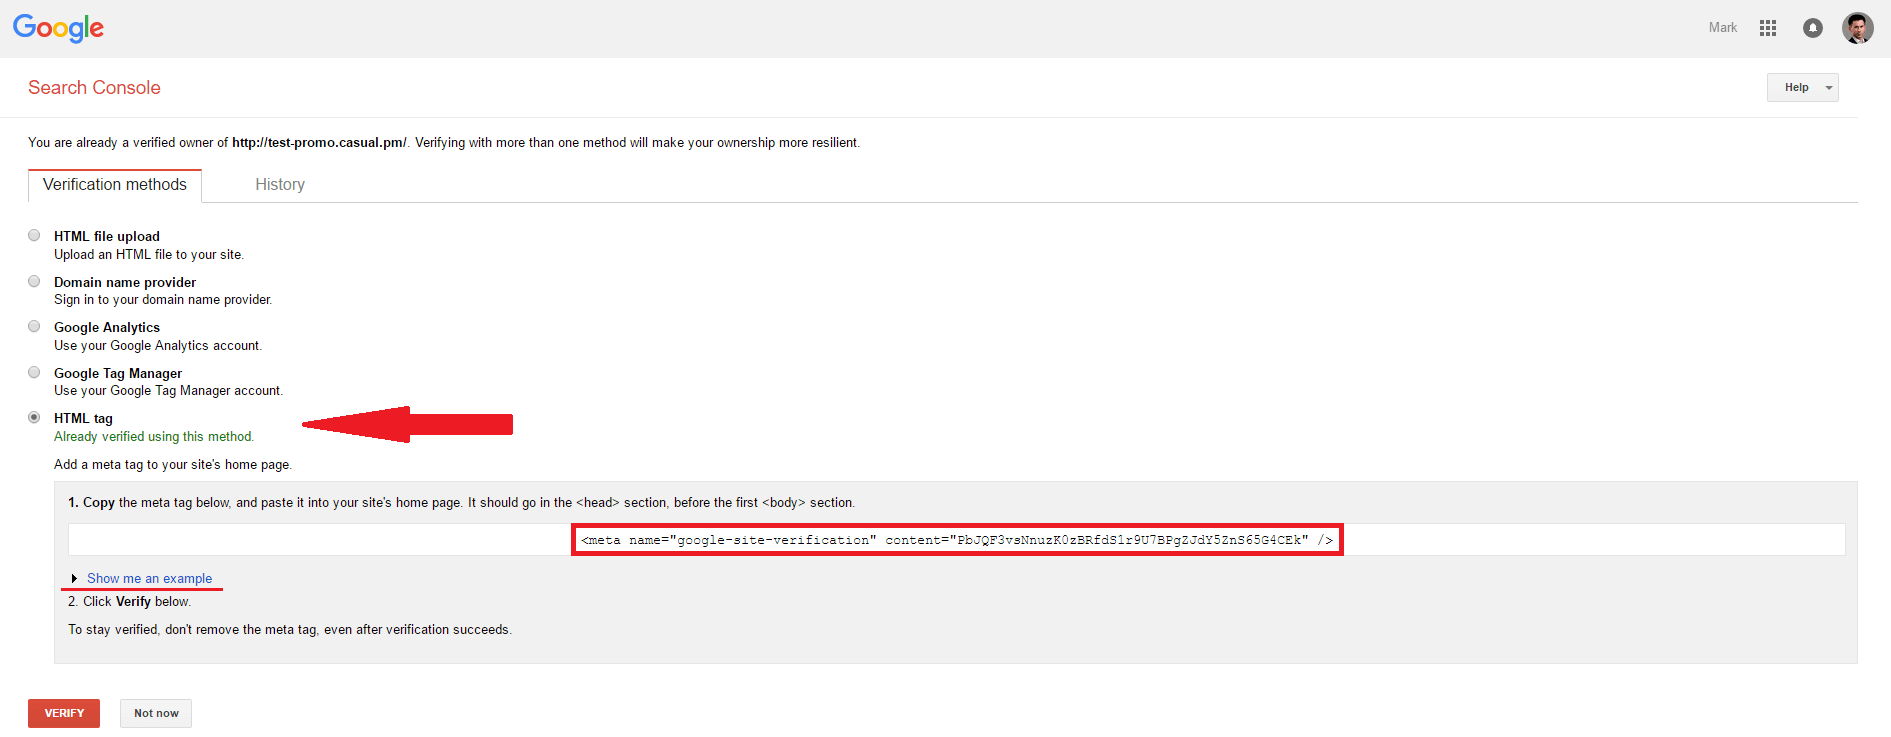
Step 4: Place the code into a source code of your page
 
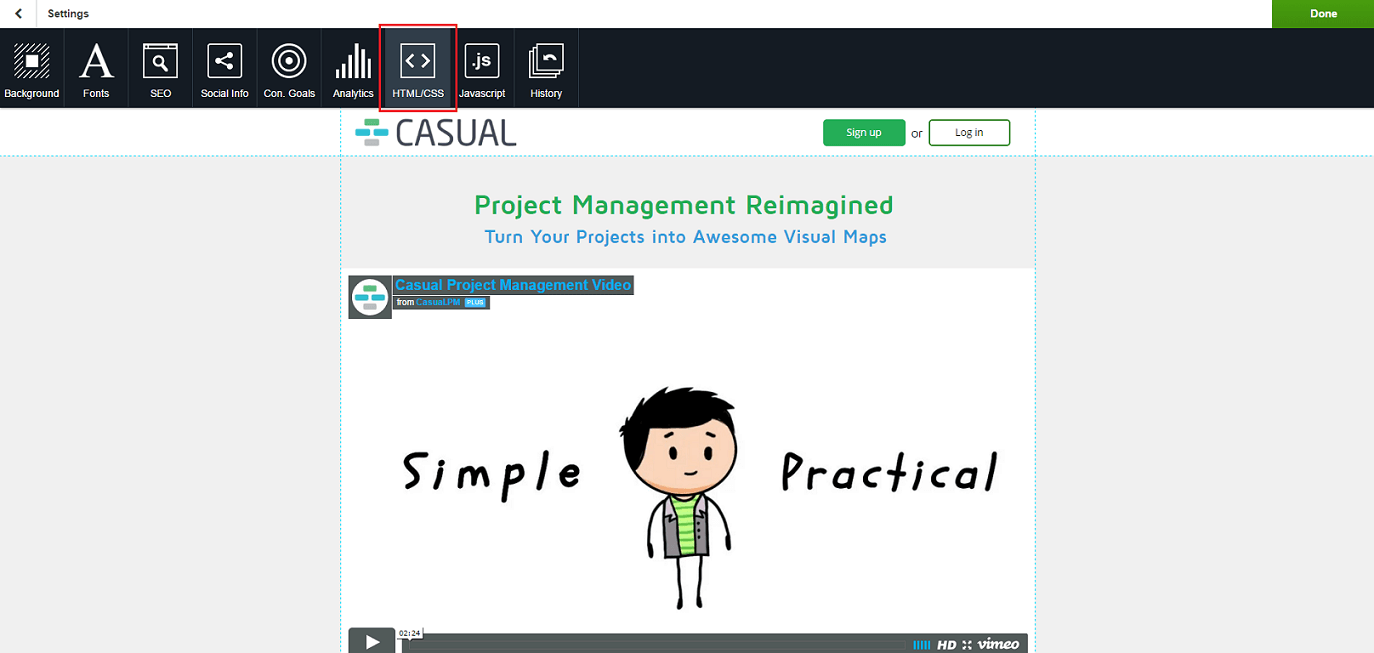
Log in into the Instapage, open the site builder, press "Settings", then "HTML/CSS".
Paste the code into the Header tab, then press "Done".
Apply changes by pressing "Save", then "Publish Changes". Upon success, you should see a message that states "Updated".
Go back to Google Search Console, and press "Verify". Once done, you'll see the following message:
As a GWT newbie, you might want to read the "Beginner's guide to GWT" later. 

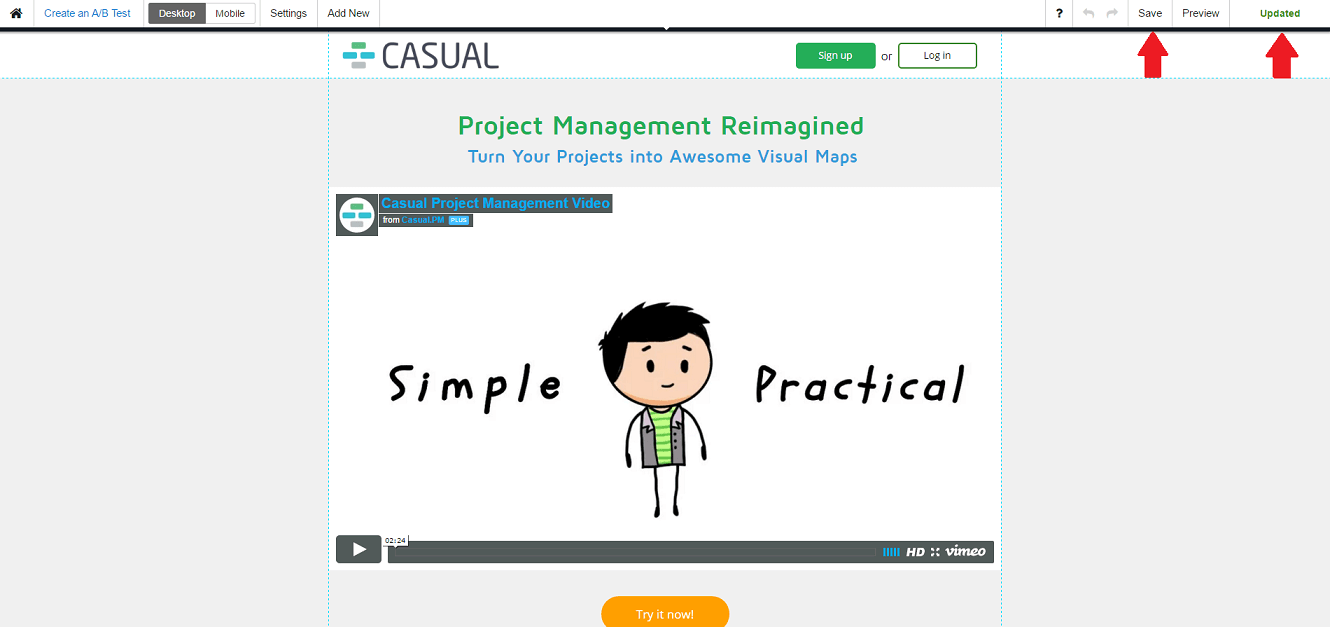
Publish a page on your domain name

You can publish your landing page on Instapage's subdomain. However, it's better to get your own domain name to make it look more professional.
 
Buy your domain name from any major hosting service provider or domain names vendor. HostGator is one of them, but it's really up to you, which one to choose from.
 
Once you've bought a domain name, you have to point it at Instapage hosting.
 
Check a tutorial from Instapage that covers this topic. 

Get feedback and implement changes

Now, as you have a ready-to-use landing page, you should get a feedback on it from your friends, as well as test it by yourself. Make sure everything works properly, and texts contain no mistakes. 
 
Analyze the feedback and implement the necessary changes. 

Publish and promote your page

Listening to your friends is great, but the best test is to get feedback from the real users. 

Start promoting your page, attract traffic, and be ready to make changes. 
 
Remember that Instapage also allows you to run simple A/B test campaigns. Use them to find out which type of design suits your needs best. 
Story by
Mark Savchuk
Marketing Wizzard @ Casual.pm