Startup Toolkit
Interactive How-To Guides For Startups
Crafted for you by Casual Team
Guide

How To Launch Your Blog

by
Nick Nikolaev
co-founder of Casual.pm
Get a pre-made project plan based on this how-to guide on startuptoolkit.info
This guide will tell you how to create and launch your blog without developer or a designer. Please note that this story is accompanied by a step by step plan that you can "play" to guide you through the steps.

Intro

Having a blog is important for every startup. Even if you haven't finished your product yet, you can start forming community around your brand in advance. Here are a couple of examples when a blog became one of the main marketing channels for a startup. This article will guide you through the process of setting up a blog without any coding or designer assistance. Best part? It will take you less than a half of a day to complete all steps.

We are going to showcase two great blogging platforms to test-drive: Medium and Tumblr.

Buy a domain or create a sub-domain

First of all, get yourself a domain name or create a sub-domain on your existing site. In order to buy yourself a domain, we recommend one of the next two services:For this how-to guide we bought two domains from Namecheap:
  • Sampleblog.xyz
  • Sampleblog2.xyz
Just ... $2,12 for the two of them. Buying the domain took me less than 15 minutes.
In a case you want to create a subdomain, here are a couple of good articles on the matter: Namecheap & Hostgator

Create the list of blogs that you like

It's important to have several examples of blogs that you admire in front of you. They will help you to come up with ideas while developing the blog of your own.

Choose a platform

Medium is an online publishing platform launched by Twitter co-founder Evan Williams.
  • Pros: extremely easy to set up (literally a few minutes).
  • Cons: There are a lot of constraints: people will take notice that you are using a 3rd party platform, which isn’t that great for branding.
Tumblr is a microblogging platform and a social network mixed in one. 
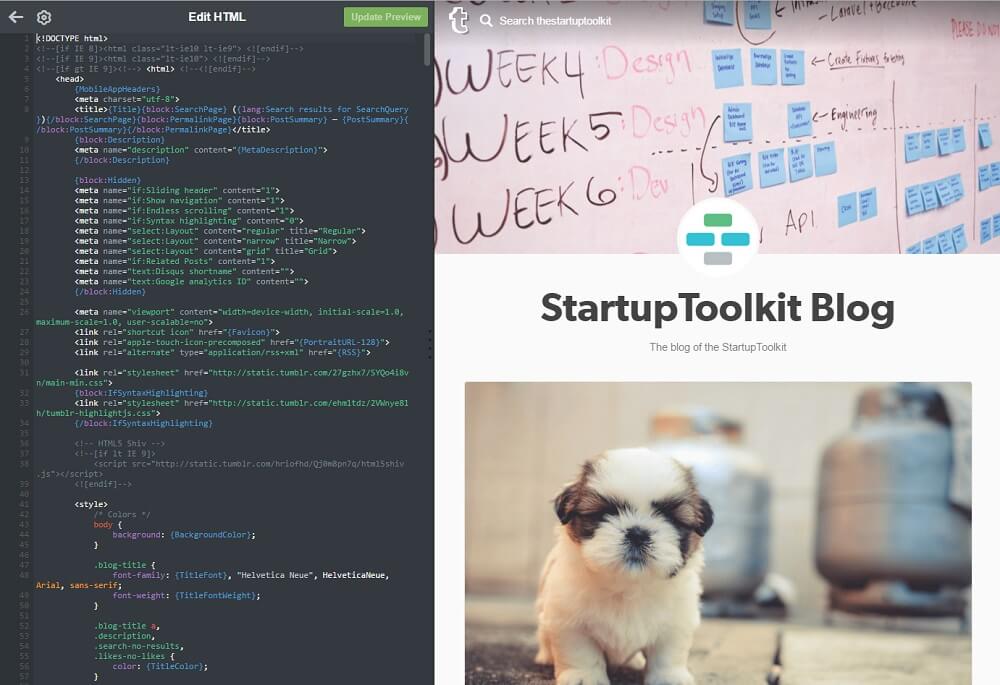
  • Pros: relatively simple to set up, lots of templates and theme designs. You don't need to hire a developer or a designer to set it up. If you want, you can edit HTML and customize the design or functionality of your blog. 
  • Cons: it IS a bit more complicated than Medium.
Also, apart from these platforms you can use WordPress. It is another fantastic blogging platform, with endless amount of free templates around the web and extremely active community. It will take you at least a couple of days to crack WordPress if you have zero experience. But in this how-to guide, we focus on simplicity. For that reason, we stick to Tumblr and Medium here. These platforms are super simple and they get the job done for you.

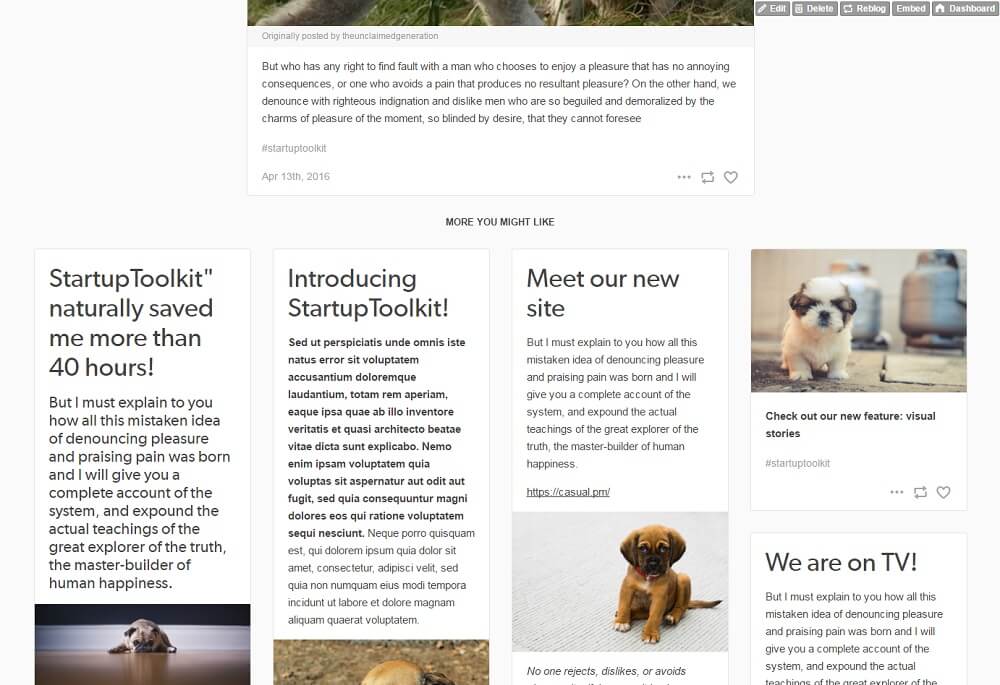
To make the comparison more visual, we've created two blogs (one on Medium and one on Tumblr) with the same content. This way It will be easy for you to compare which one of the blogs serves your needs best. 
Blog on Medium: http://sampleblog2.xyz/Blog on Tumblr: http://sampleblog.xyz/ 

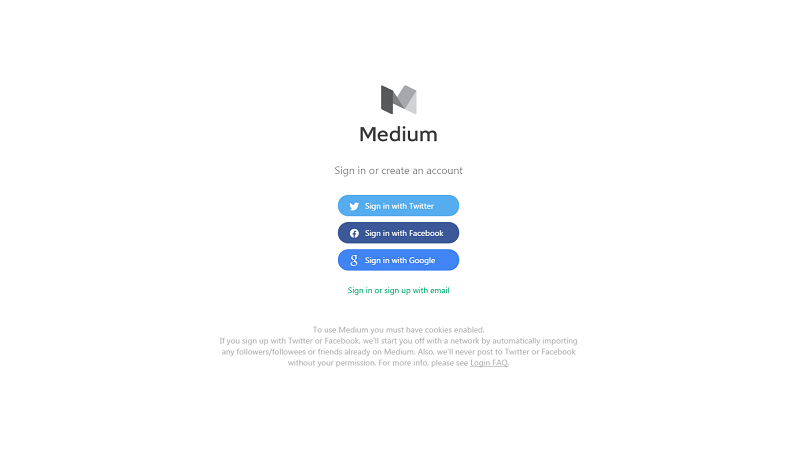
Option #1: Create an account with Medium

Create your personal account on Medium, where you will have your blog.

Create your publication

On Medium blog posts are called "Publications"."Anyone on Medium can start a publication, and write and edit it alone or as a part of a team. Usually, publications are centered around particular theme or topic for a selected niche audience or more general readership." Therefore, you  develop a full-fledged company blog. Any memeber of your team (you included) can contribute to the publication using Medium accounts.

Click on your avatar in the top right corner and select "Publications".

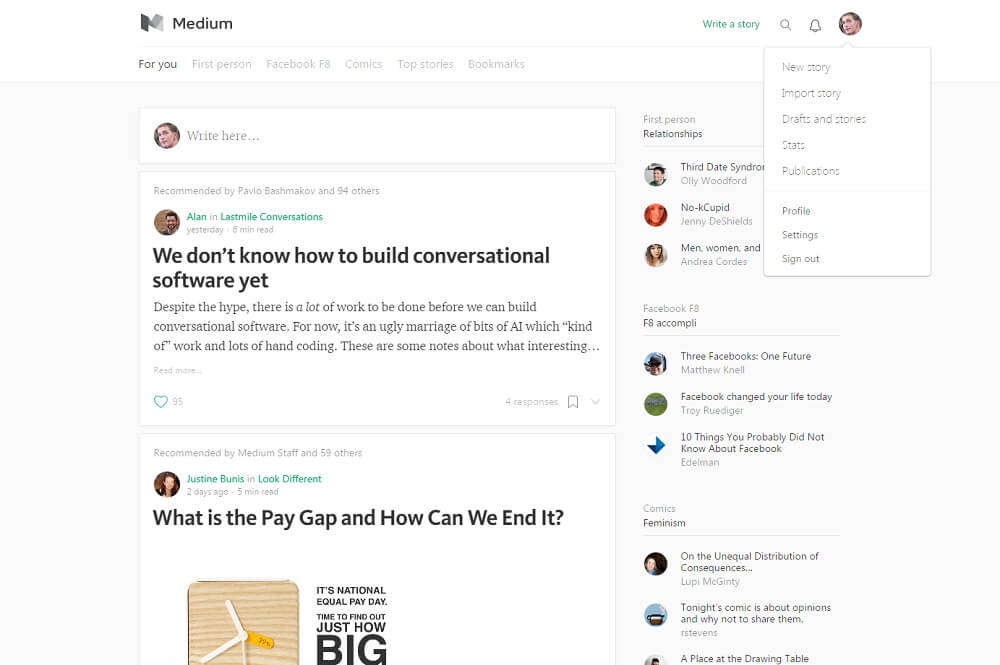
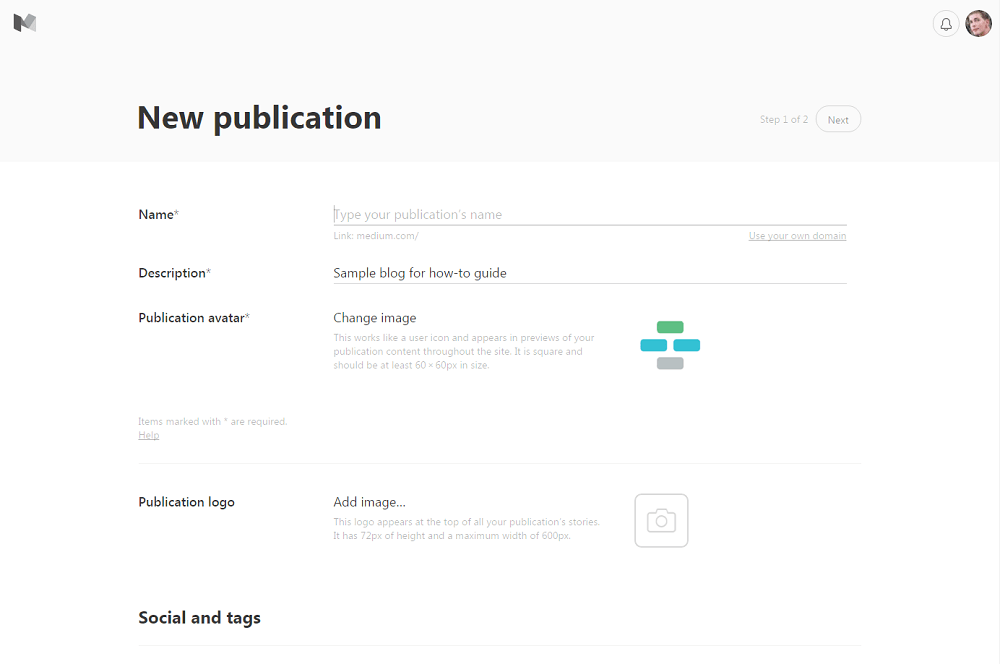
Then include some introductory information about your blog on the "New publication" page.

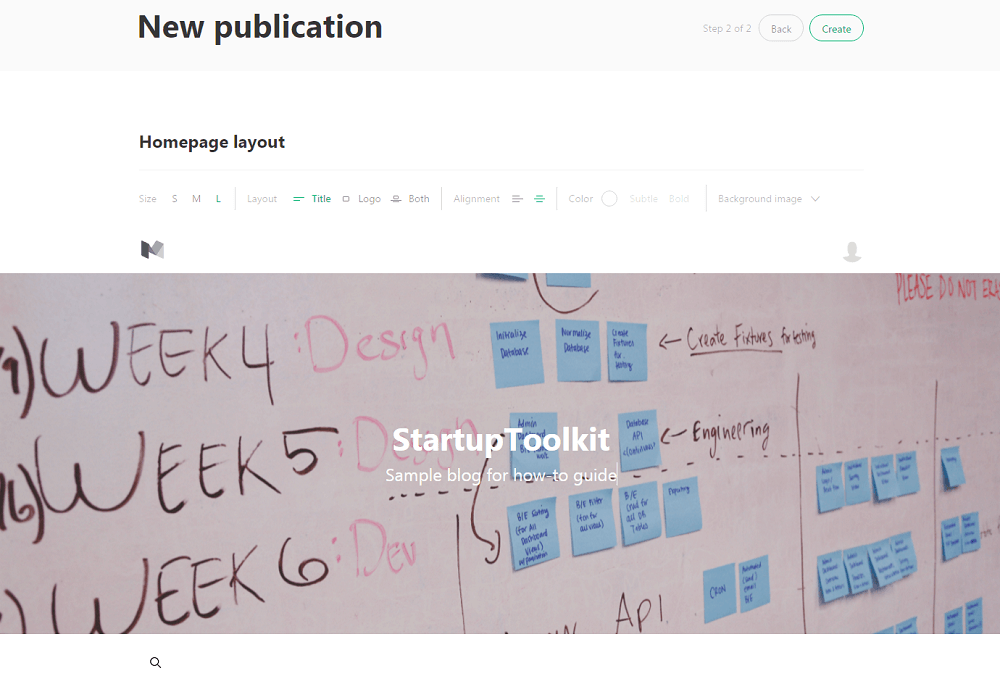
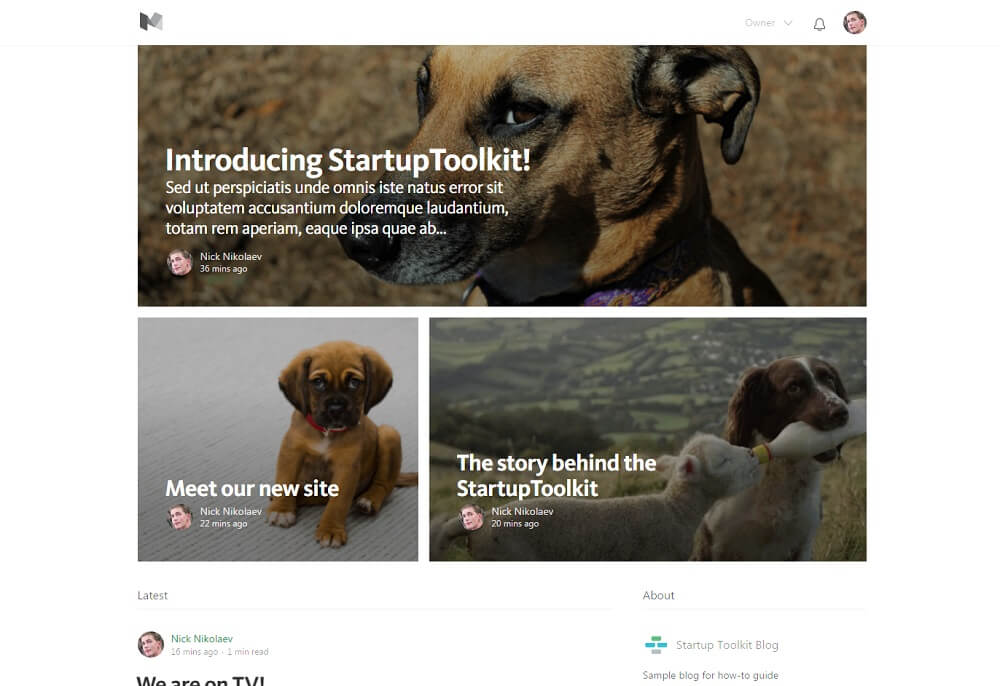
Set the layout of your Publication

Next step: setting up the layout of your blog. You can use several features – conventional center style, grid style (like Pinterest) and add a cover photo with a title and a description of your blog.
Here is how some popular blog layouts look like on Medium:
Here is a detailed post on how to set up layouts for the Medium blog, in a case you want to customize your blog youself. 

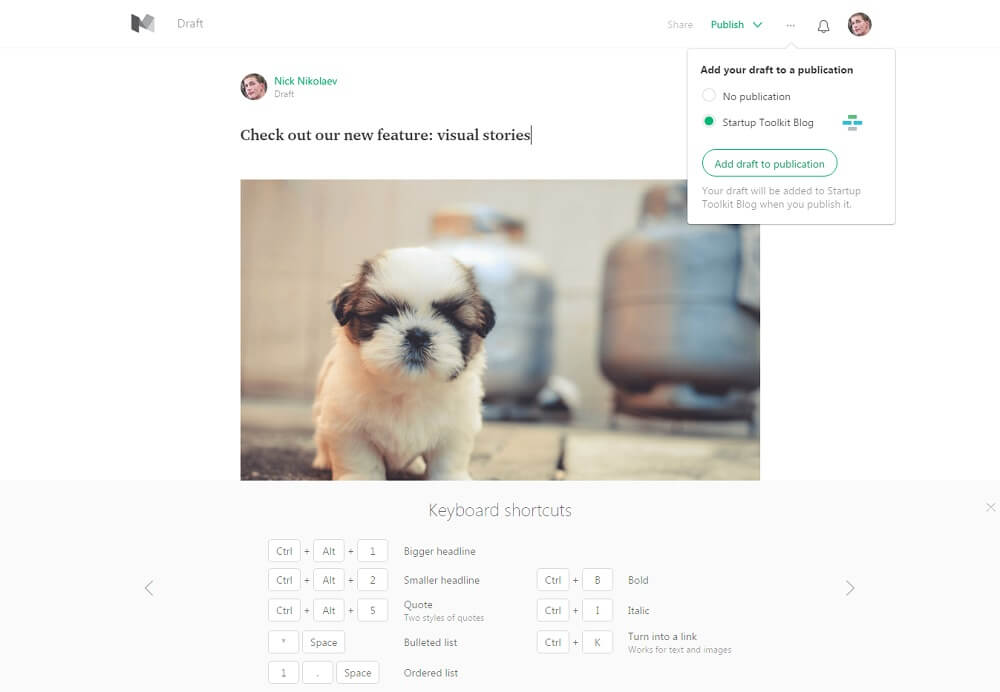
Write your blog posts

Create a test post so that you can play around with customization options.

Medium’s text editor is really intuitive and user-friendly. You can format your text, add pictures and videos making the posts more engaging.
Important note. First, you have to create a blog post (using your personal account), and only then you can choose where to publish it.
Here is more detailed explanation on how to do that. We've added a few more posts and hence, created a pretty simple, nice looking front page of our blog.

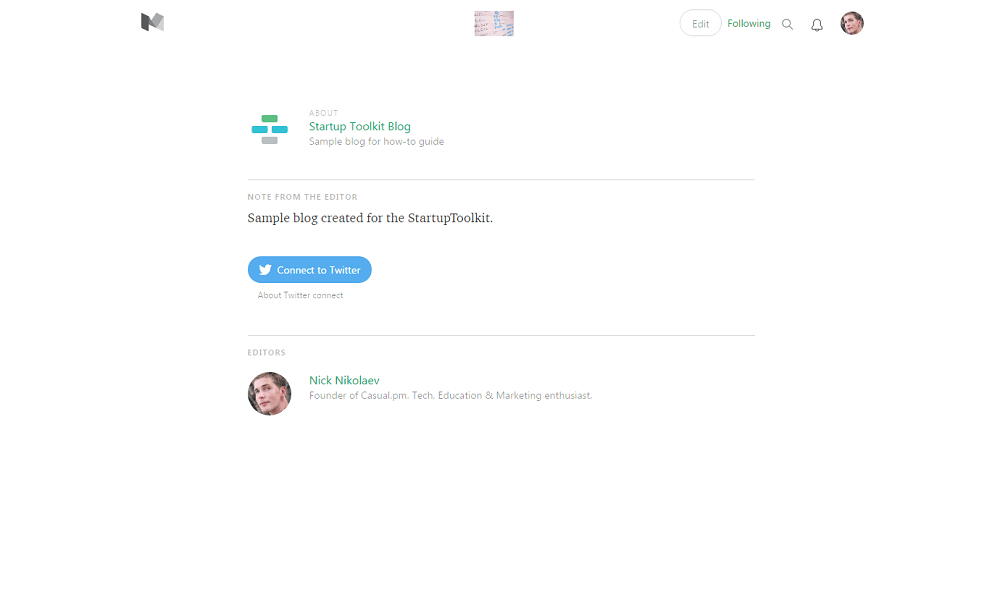
Create an "About" page and list contributors

Here you can explain the visitors what your blog is all about. Also, you can list all the blog's contributors.
Find more info on 'About' pages here.

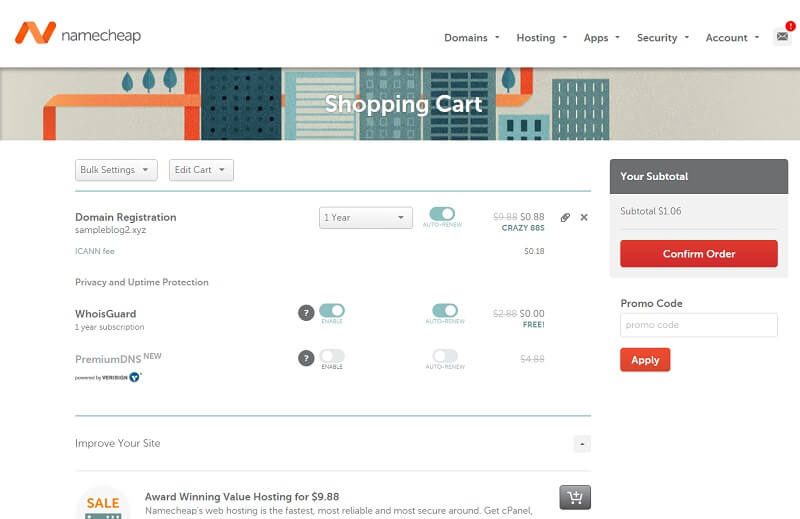
Get yourself a domain

Next step: set up your personal domain for your blog. You can set up your domain or sub-domain for your publications on Medium. We'll set up a sampleblog2.xyz domain that we bought simply to showcase how it works.

Send an email to custom domains@medium.com with “Custom Domain” in the subject line. Include the URL of your domain (or sub-domain) and the URL of the Medium Publication (not your Medium profile).

Also, let the Medium team know which registrar you use so that they can tailor the instructions a bit, as some registrars are slightly different than others. They’ll send you A records and a CNAME record along with detailed instructions. Add the records to your domain and you’re done! We've sent an email and received an answer that the info will be sent to us in 48 hours.
Once I've received an email, I've signed in to my domain settings and entered the info. If you require more detailed explanation, here is a Medium help guide to check out.

Learn how to use the platform

There are plenty of nuances on Medium: which template to use and how to add your content. We recommend researching the topic a bit further. Here you can find more useful information on the matter. 

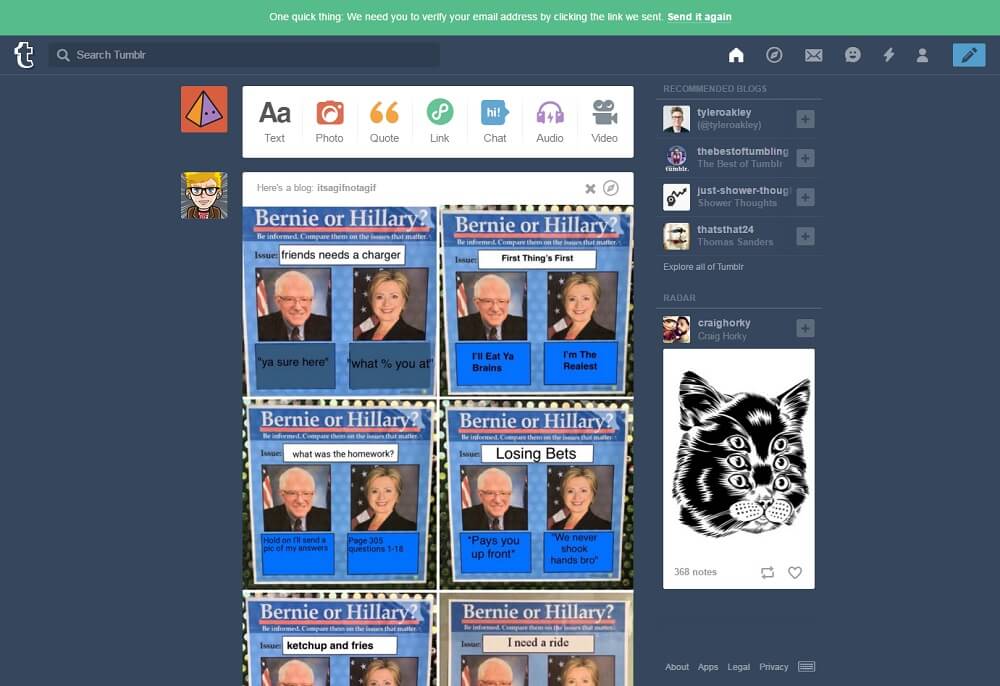
Option 2: Create an account on Tumblr

 Just like with Medium, the first step is to create your personal account. Head to tumblr first.  

Add a test post

Get started at the dashboard screen. You will see posts from blogs you are already following (yes, Tumblr signs you up for several blogs, but don't mind that). Also, you can find different blog setting at the top. Let's create a first post for your blog. Press "Aa" button that has a caption "text" written underneath it.
Once pressing the button, you'll see a post editor. Enter your first post here.
If you would like to edit your text, use Tumblr's editor. It's very simple!

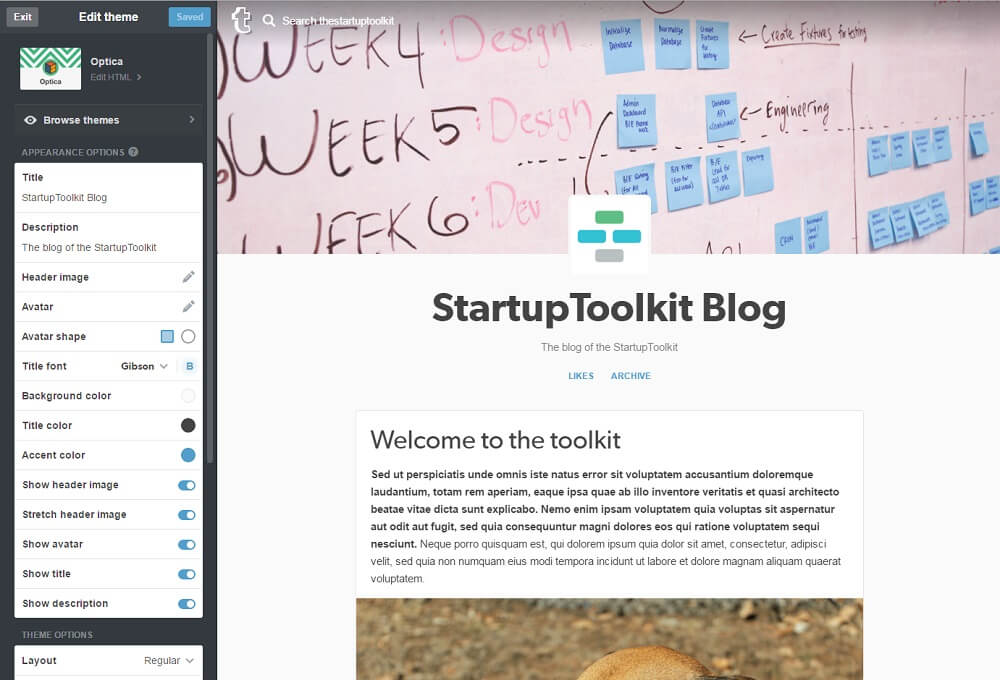
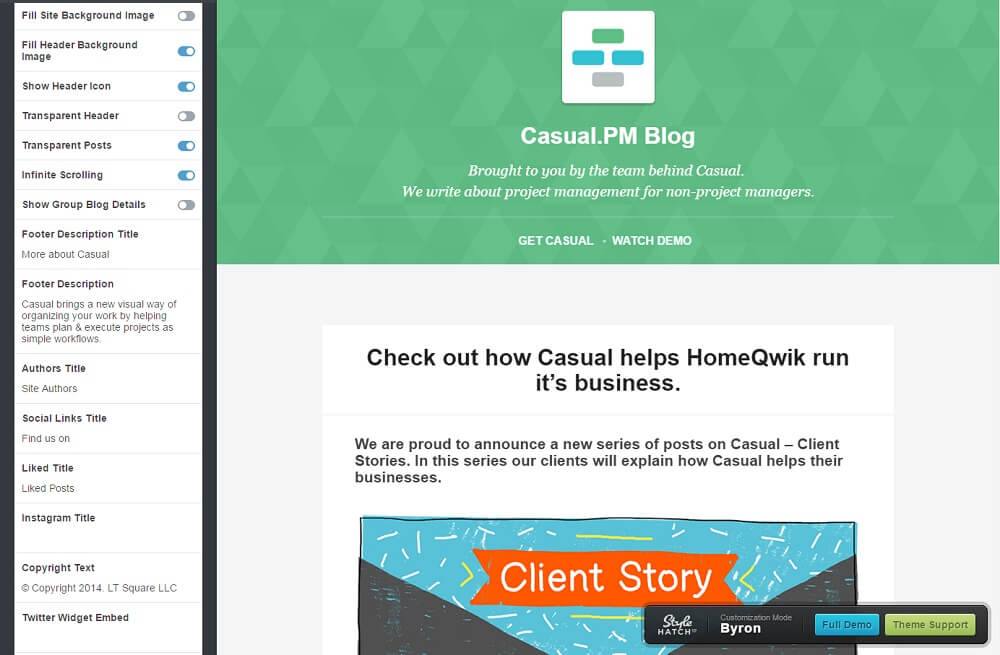
Edit your blog design

Next step is all about setting up the right appearance. For this, proceed to "Edit Appearance" menu (get your mouse close to the name of your blog to see the button).
Pressing this button will bring you to a simple editor where you can add a cover image, Title and blog description.

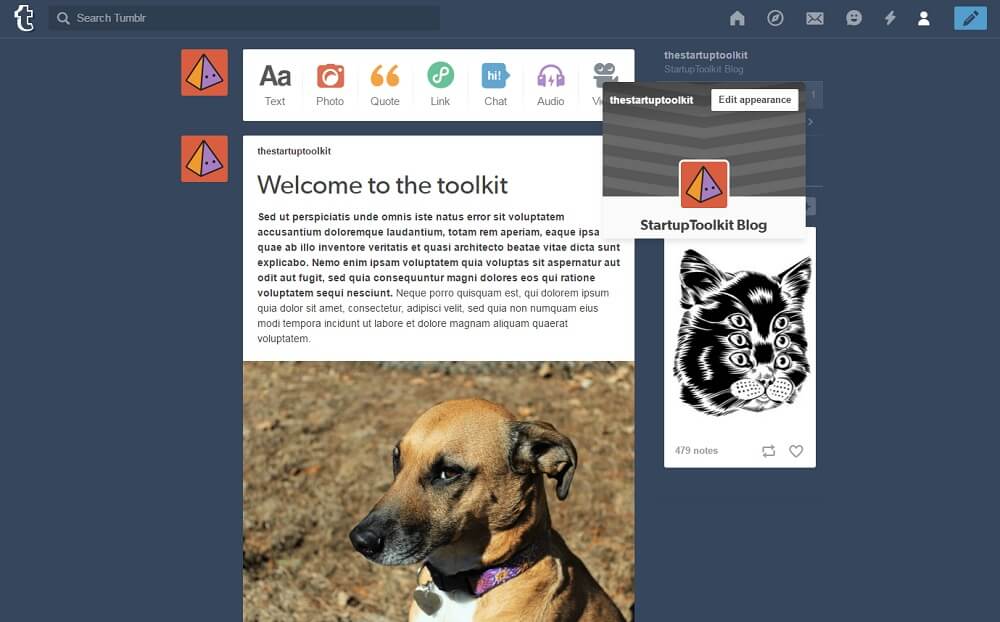
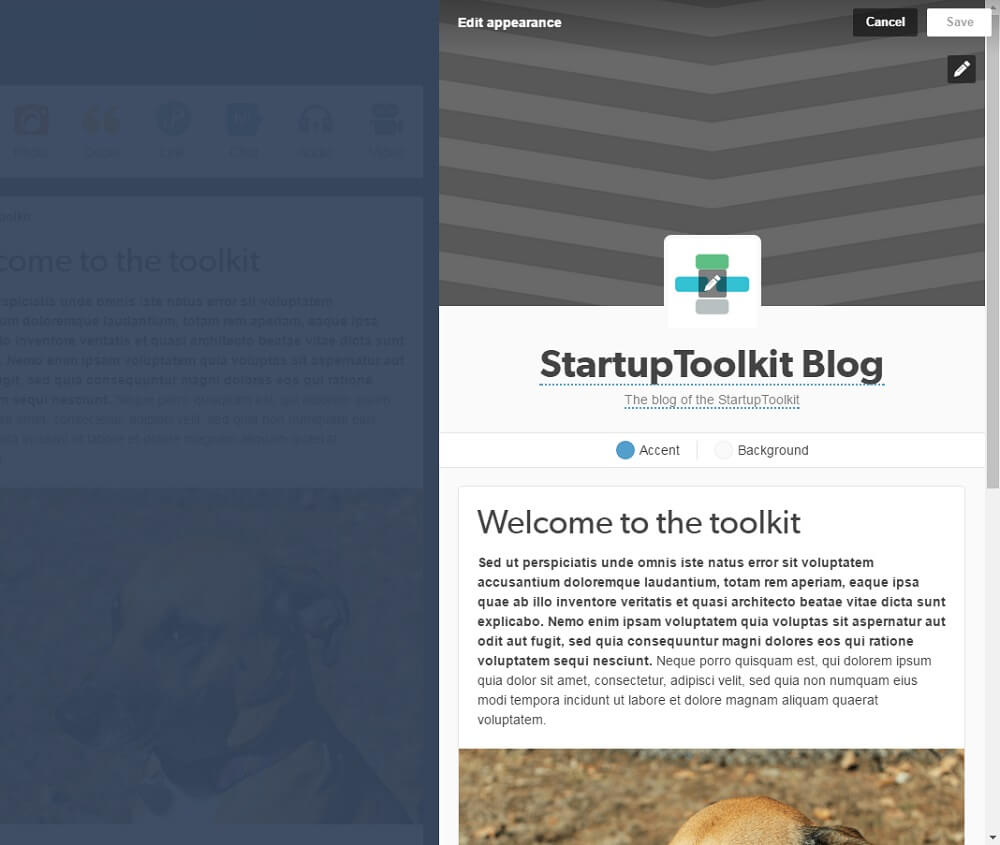
Yay! Now, your blog looks much better.

Pick a theme

Themes are the backbone of Tumblr. All Tumblr blogs use themes with flexible customization. Pick a particular theme. It will determine the look of your blog (layout, colors etc.) which is incredibly important.

To pick a theme, go to the theme-shop on Tumblr.

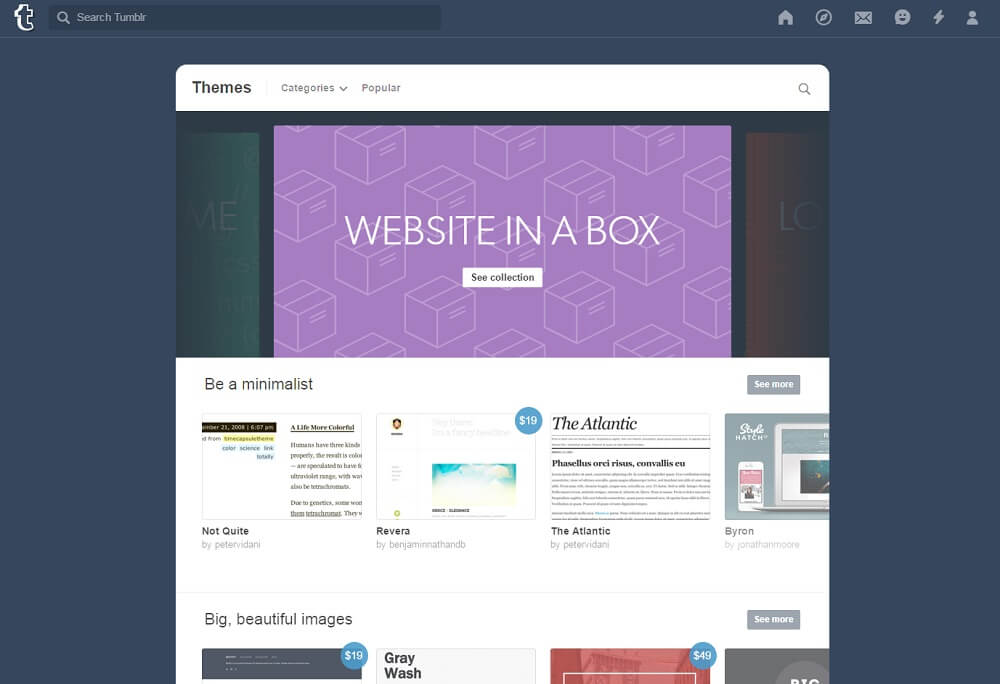
We advise you to use a premium theme (it has more editing options), but there are plenty of lovely free themes too.

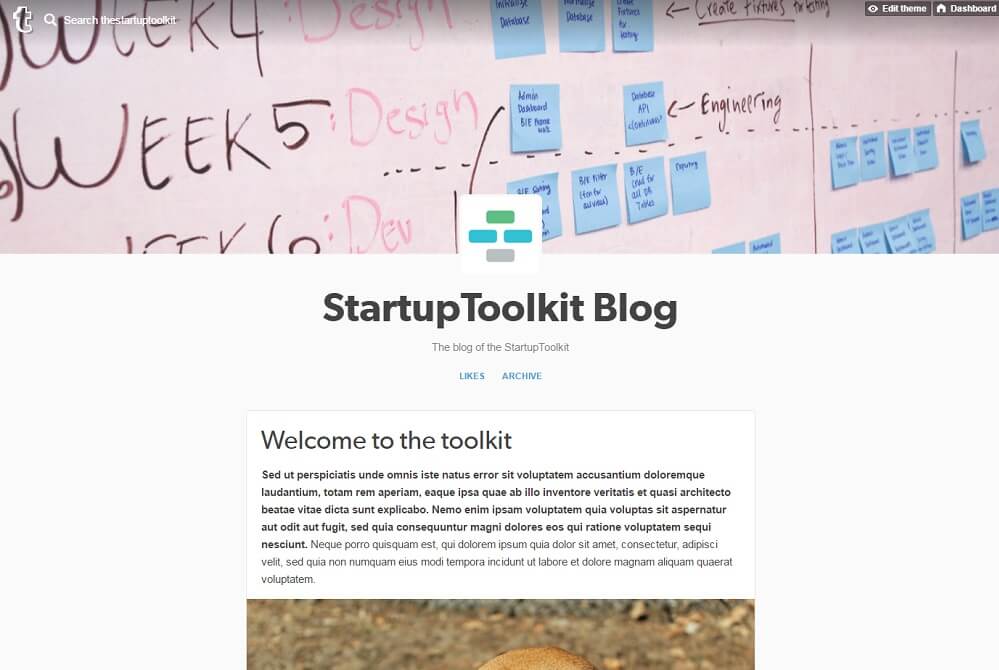
The default theme is OPTIMA. It is a very simple, yet high quality template. We've created our sample blog using OPTIMA theme.

There are a  frew more themes that we recommend checking out:
Our company blog is also hosted on Tumblr. We created it with Byron theme. Here is a discussion on Quora about whether you need a Free theme or premium theme for a Tumblr blog.

Add a couple more posts for testing
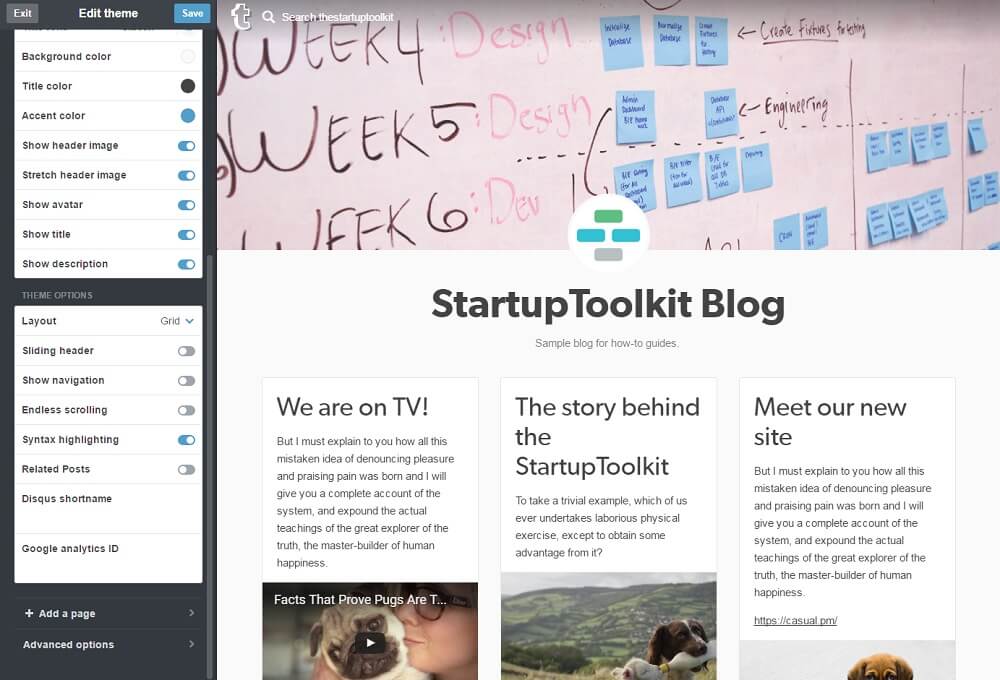
You need at least three posts to test your blog properly. Multiple posts will create this specific "roll" feeling for the blog, and you will be able to understand how it’s going to look like with plenty of content. 

Set your theme

Play with customization options. Different elements may have different sets of settings hidden inside. Best themes will offer you more customization options: from background color settings to tiny things like how your links are displayed. All settings are usually grouped in two categories:  Appearance settings and Theme settings. Optima (the default free theme) goes with a lesser number of settings. Still, you can shape the avatar, background color, and the color of your title and description.
Theme settings have more to do with the page layout. For example, you can alter the layout, so that your blog posts are shown as a grid, rather than a column.
You can also add navigation in the related posts section:
Customization options of premium themes are more rich, starting with footer add-ons, social network widgets, search functionality, and so on.
Remember that you can always edit theme's HTML code and modify the blog in any way you want it, yet it requires some developer skills.

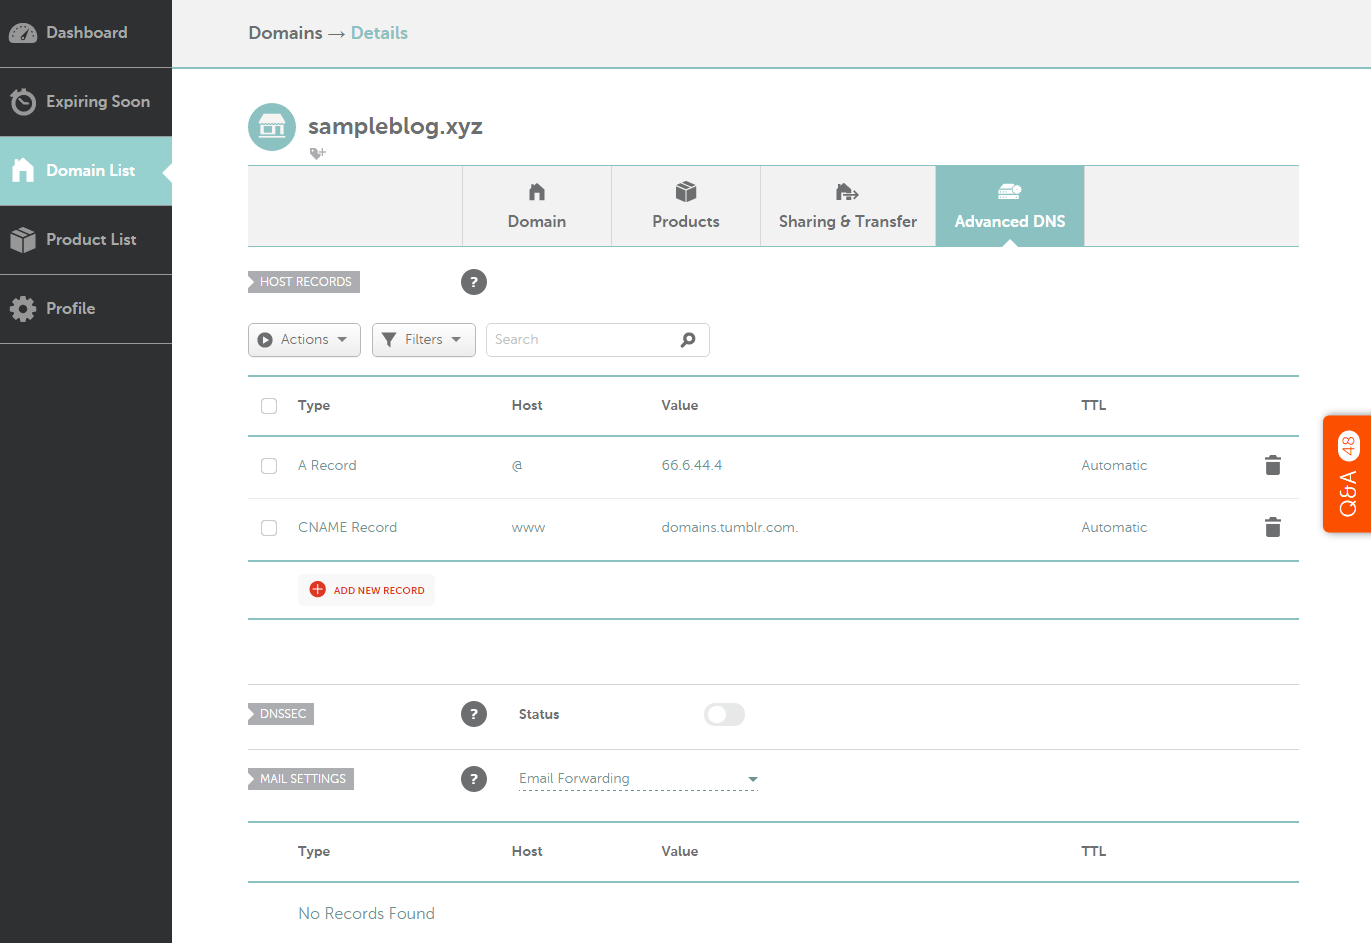
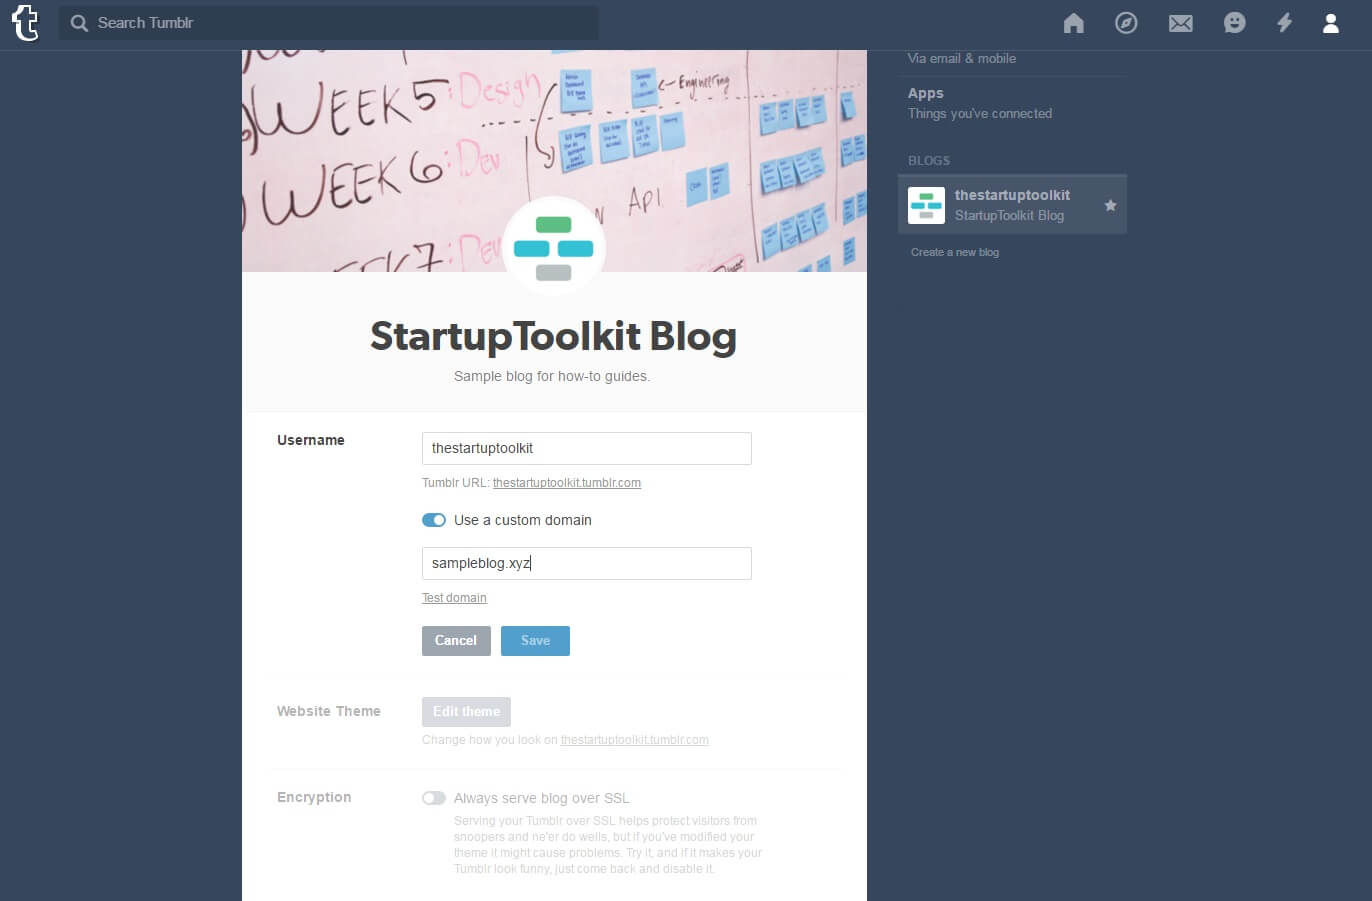
Get a unique domain for your blog

It may seem strange, but many people find this step difficult and confusing. Maybe the reason is that it involves dealing with many weird terms like DNS, A record, CNAME etc.

Well, the good news is you don't really need to know what all these terms mean. You can setup your unique domain name in 10 minutes following this very simple guide.

I bought the sampleblog.xyz domain from Namecheap for just $1,06!

Still wander how to do that? Easy. Firstky sign in to your domain registrar's control panel. Secondly, find the domain in the list and follow the support article  from the link given above.
Then go to Tumblr settings and enter your domain name into the Custom domain field.
That's it! You may have to wait a little before your settings will be applied (five minutes in my case). All the process took me around 10 minutes, that's how simple everything is. 

Connect Google Analytics and Webmaster Tools

This is also very easy to do.

First of all, login into to your Google Analytics account and create a tracking code for your website. Then proceed to "Theme settings" on Tumblr and enter that code. That's it! Here is a video tutorial for those who struggle a bit:
Here is also the link to Tumblr's detailed instruction.

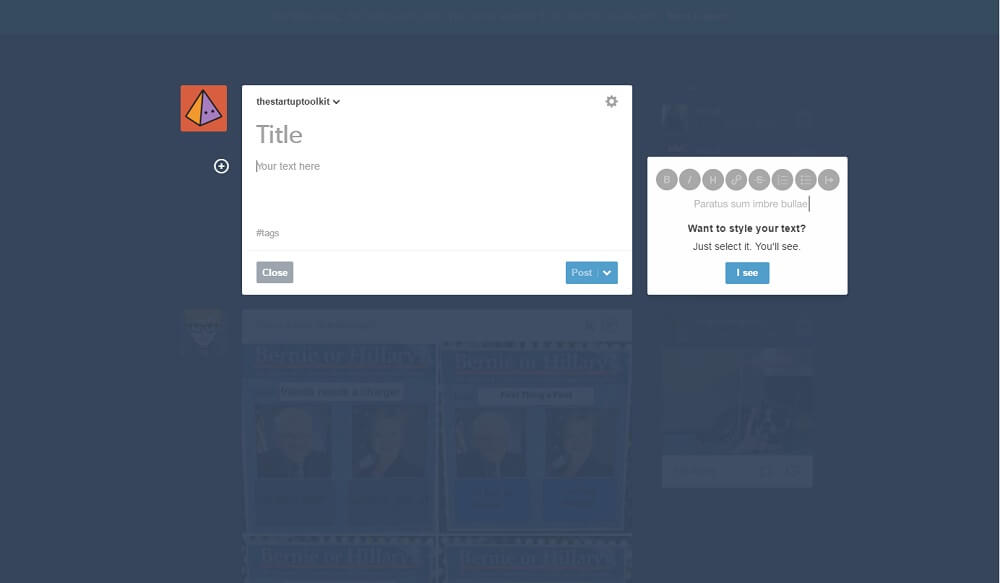
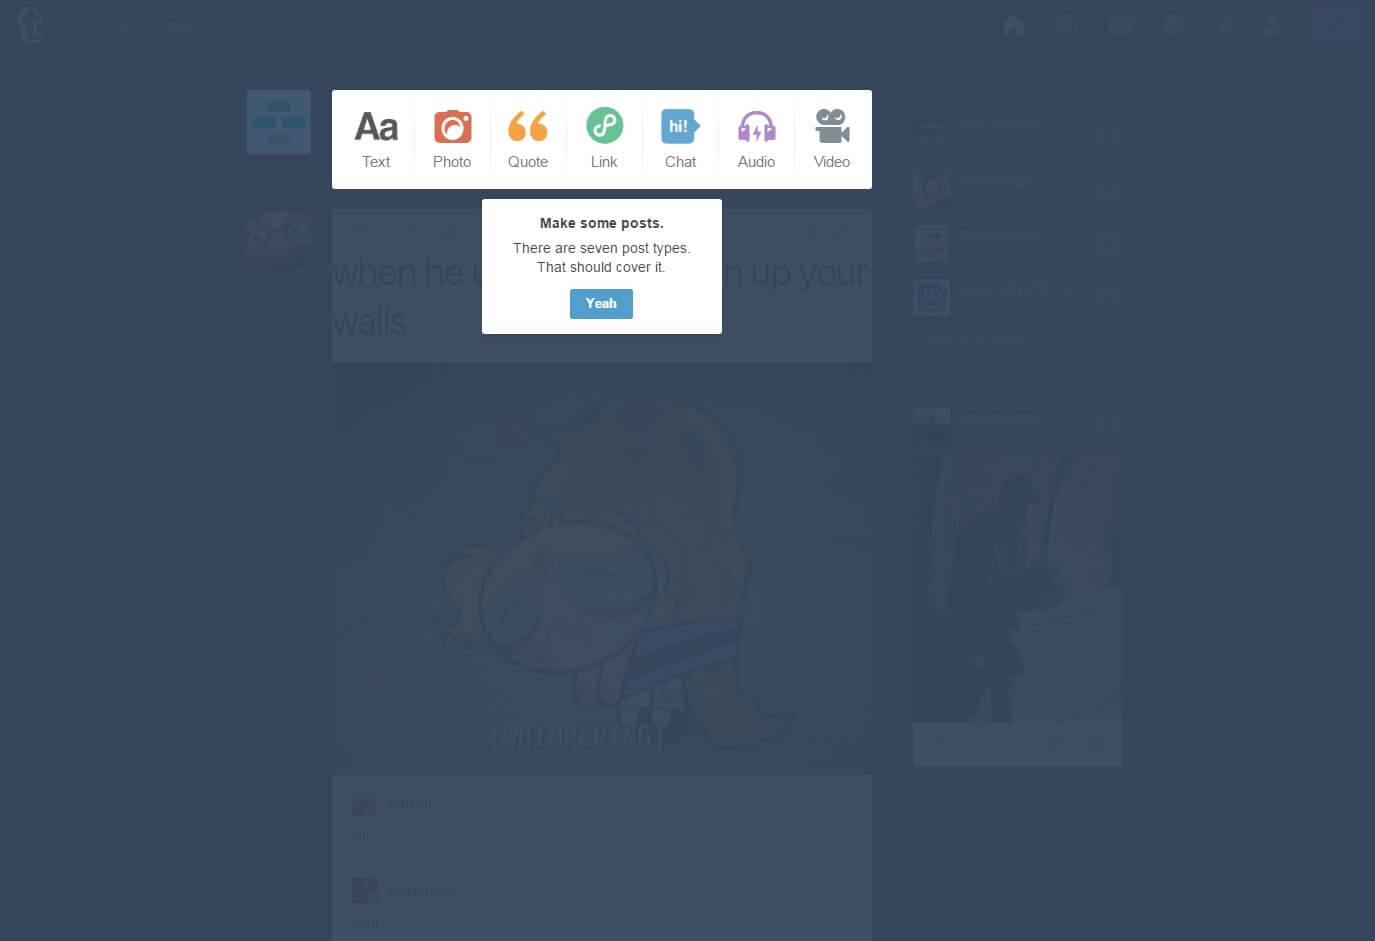
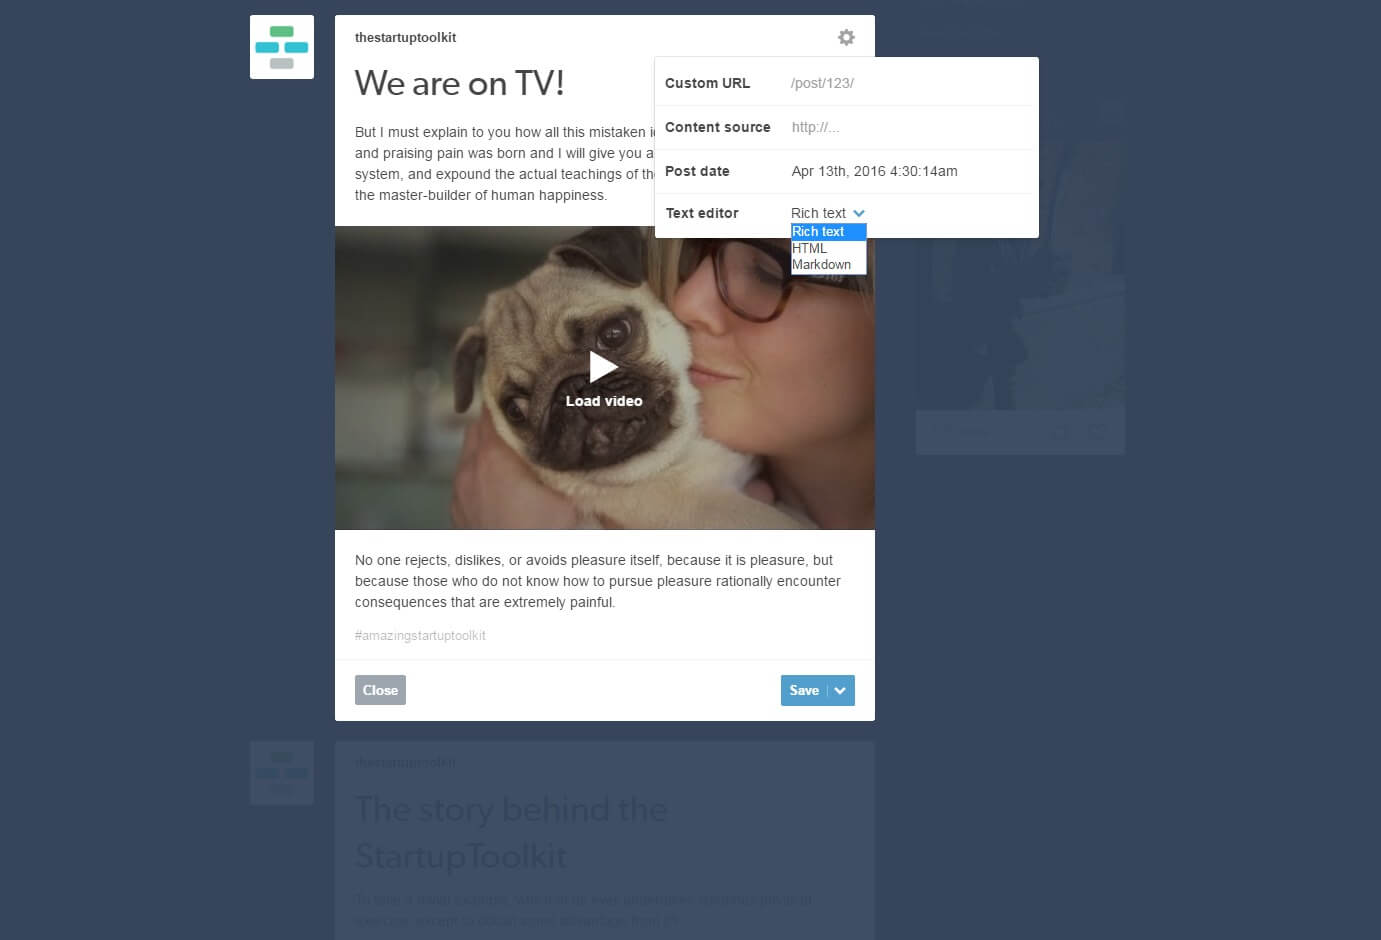
Learn the text editor.

Tumblr has several types of posts:
  • Text
  • Photo
  • Video
  • Citations 
  • Music Links
Those options were introduced due to the fact that many Tumblr blogs are exclusively photo or video-based. You can experiment with these types of posts.
Apart from rich text editor, Tumblr also allows you to edit your posts using Markdown or straight in HTML.

Tumblr Follow up

All in all, setting up your blog will depend significantly on the theme that you will choose. We advise you to invest in the premium one. It's very thoughtful investment: premium themes offer a huge variety of customization options and you pay only once when you buy it.  

Follow Up

Ok, so now you now have a blog (Medium or Tumblr). Now turn into in active hub and start blogging.Probably you'll run into some difficulties with creating a Content plan and outlining content distribution channels. That's a whole different topic, but here are some posts that will have you covered: Good luck and remember that consistency is the key to being successful with blogging!

P.S. Check out our how-to guide on building a webpage without a single line of code. Turns out, coding is no longer "a must have" if you want to share your product on the internet 
Story by
Nick Nikolaev
co-founder of Casual.pm